A project management tool is easy to love in a demo. The dashboards are clean, the automations fire on cue, and every question gets a confident answer. Then your team moves in. Old comments didn’t make the migration, integrations need workarounds, and someone still chases updates across three apps.
Implementation is often where regret starts. In Capterra’s 2026 Software Buying Trends Report, 89% of buyers who regretted a software purchase had hit unexpected disruptions during implementation. The report covers business software in general, but the pattern lands squarely on project management teams, where one weak tool touches every deadline and handoff.
That’s why choosing project management software comes down to fit. You need to know how well a tool matches your workflows, connects with the apps your team uses, and survives the move from your current setup.
This guide covers the five main types of project management software, 10 criteria to evaluate, and a seven-step selection process for picking a tool your team will keep using.
TL;DR
- Choose the right category first. Kanban boards suit simple workflows, work management platforms support cross-functional teams, and specialized tools handle software development, complex schedules, or billable client projects
- Treat deal-breakers as deal-breakers. Compare shortlisted tools using the same tasks and a weighted scorecard. A high score means little if the software fails a critical security or integration requirement
- Look beyond the subscription price. Check seat restrictions, paid feature limits, migration costs, and contract terms. A cheaper plan may cost more once your whole team starts using it
- Measure results after rollout. Revisit your original problems after 90 days. If reporting still takes hours or handoffs keep slipping, find out what’s causing the delays before they become routine
What Is Project Management Software?
Project management software gives teams one shared place to plan projects, assign tasks, set deadlines and dependencies, and track progress. Tools range from simple Kanban boards like Trello to cross-team platforms like Asana, monday.com, and ClickUp, plus developer tools like Jira and scheduling tools like Microsoft Project. Know what your team needs before you compare them.
What Are the Benefits of Project Management Software?
The biggest advantage of project management software is visibility. You can see what’s happening across your projects, and people spend less time chasing each other for updates. Here’s how that plays out in practice:
- Keep decisions attached to the work. When briefs, comments, and tasks live together, it’s easier to trace why a deadline moved or a requirement changed. Someone joining halfway through a project can get up to speed from the task history
- Catch dependencies before they turn into delays. Say a developer needs approved mockups before starting a build. A dependency link ties the two tasks together, so if design runs late, the team sees which work is affected and adjusts the schedule early
- Keep ownership clear. Every task has an assignee and a deadline, so everyone knows who’s responsible for what. That frees up weekly status meetings for the work that needs attention
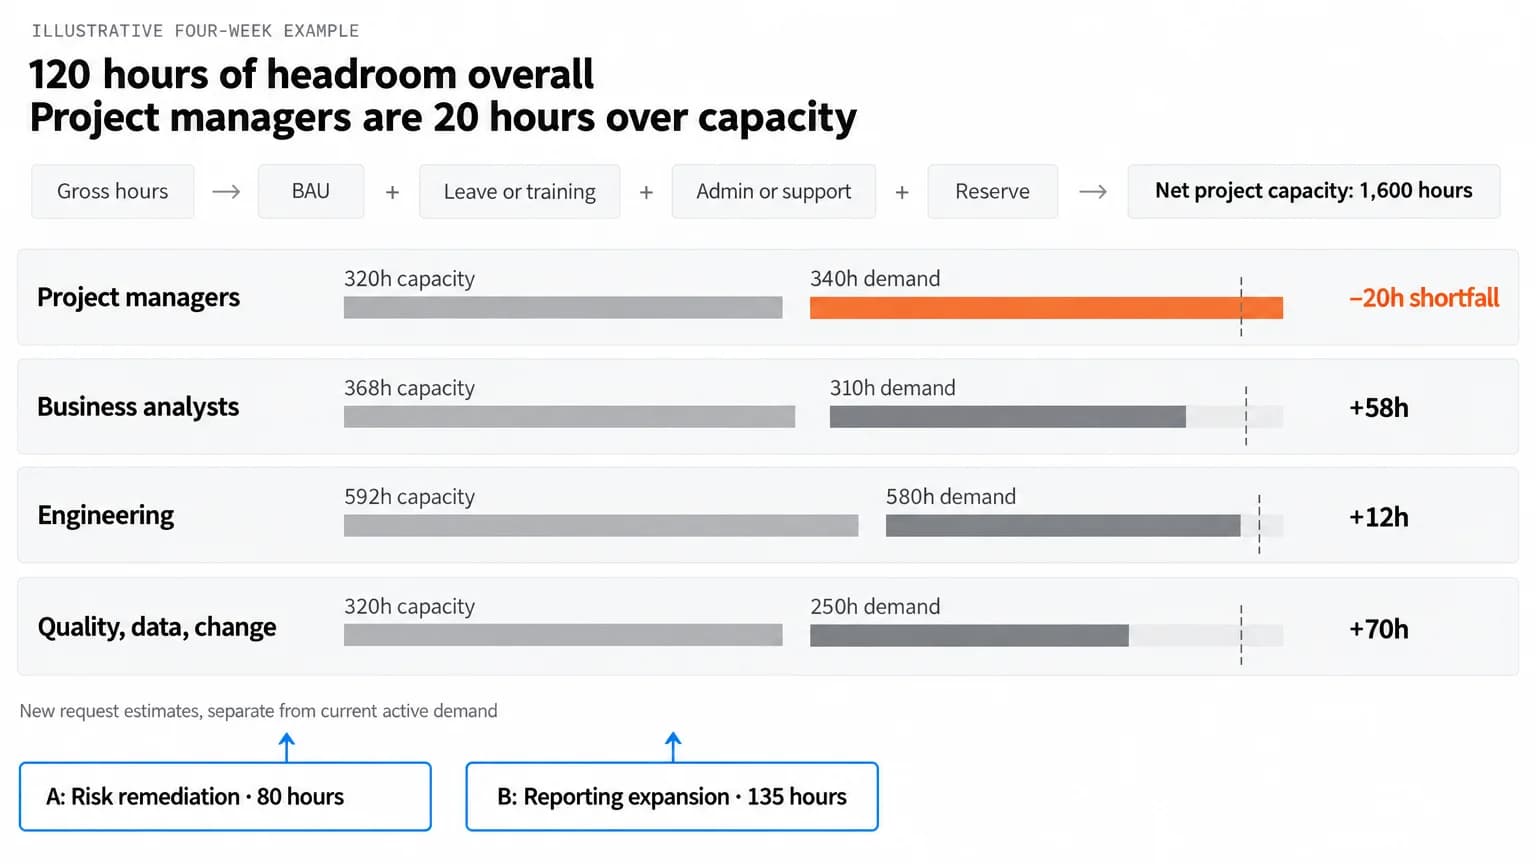
- Notice uneven workloads early. A workload view lets managers compare assignments and capacity across the team. If one engineer is overloaded and another has room, they can shift work around before deadlines slip
Why Do Project Management Software Choices Fail?
One common reason is that teams evaluate how individual features work without checking what happens when information moves between them.
Consider a marketing team preparing for a product launch. Sales changes the launch date in the CRM, but the project timeline still shows the old deadline. Meanwhile, design approvals occur in a separate app, and no one updates the development team when the final assets are ready.
Each tool might work perfectly on its own. The trouble starts when people have to carry information between them.
Run the seams test before comparing features
The seams test helps you spot these gaps before committing to a tool.
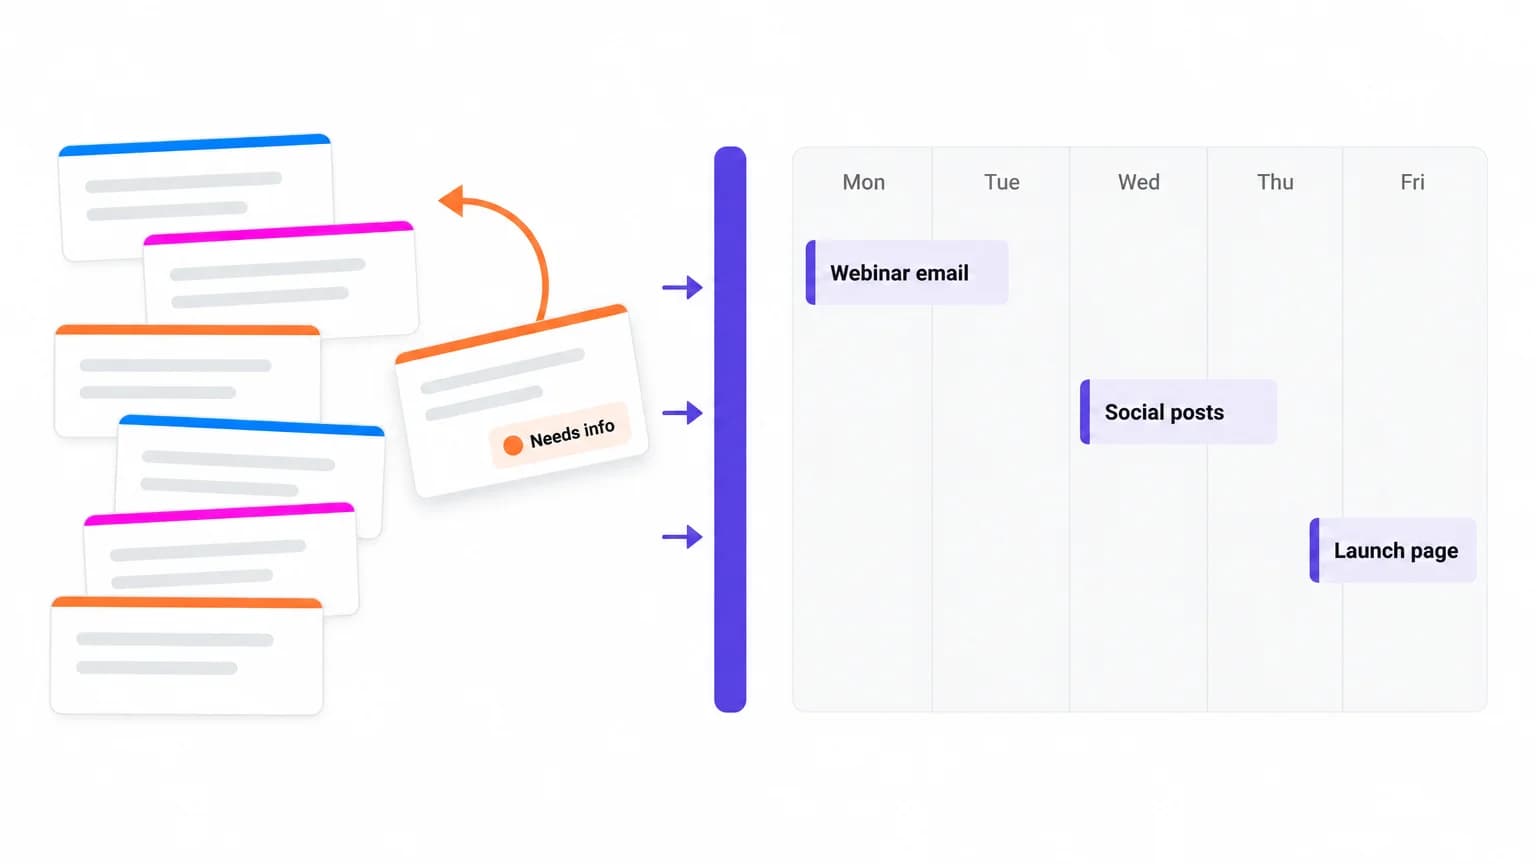
Start by tracing a real project from the initial request to the final delivery. Follow how information moves through briefs, assigned tasks, reviews, approvals, and client updates. At each handoff, check what needs to move, whether the software handles it, and who is responsible when something goes wrong.
For example, if a client changes a deadline in your CRM, does the project owner get notified? Will the updated date reach the project timeline, or does someone need to change it manually? And if an integration stops working, how will the team find out?
These details matter when you’re already dealing with work sprawl. In ClickUp’s State of AI Maturity 2025 survey of 316 professionals, 54% reported scattered or mostly scattered systems. Only 14% said context was unified and easy to access across their company.
Of course, bringing everything into one platform isn’t always practical.
An engineering team might already manage code, pull requests, and incidents through GitHub and Jira. Moving all that work elsewhere could disrupt processes that are running well. In that case, a project management tool with reliable connections to those systems may be a better fit.
The seams test helps you make that call early: which parts of your workflow belong in one shared workspace, and which are better handled by specialist tools that stay connected.
What Are the Types of Project Management Software?
Project management software falls into five types, and each is built for a different shape of work. Match the type to how your team works before you compare vendors. For a longer breakdown, see this guide to the types of project management software.
1. Task and Kanban boards
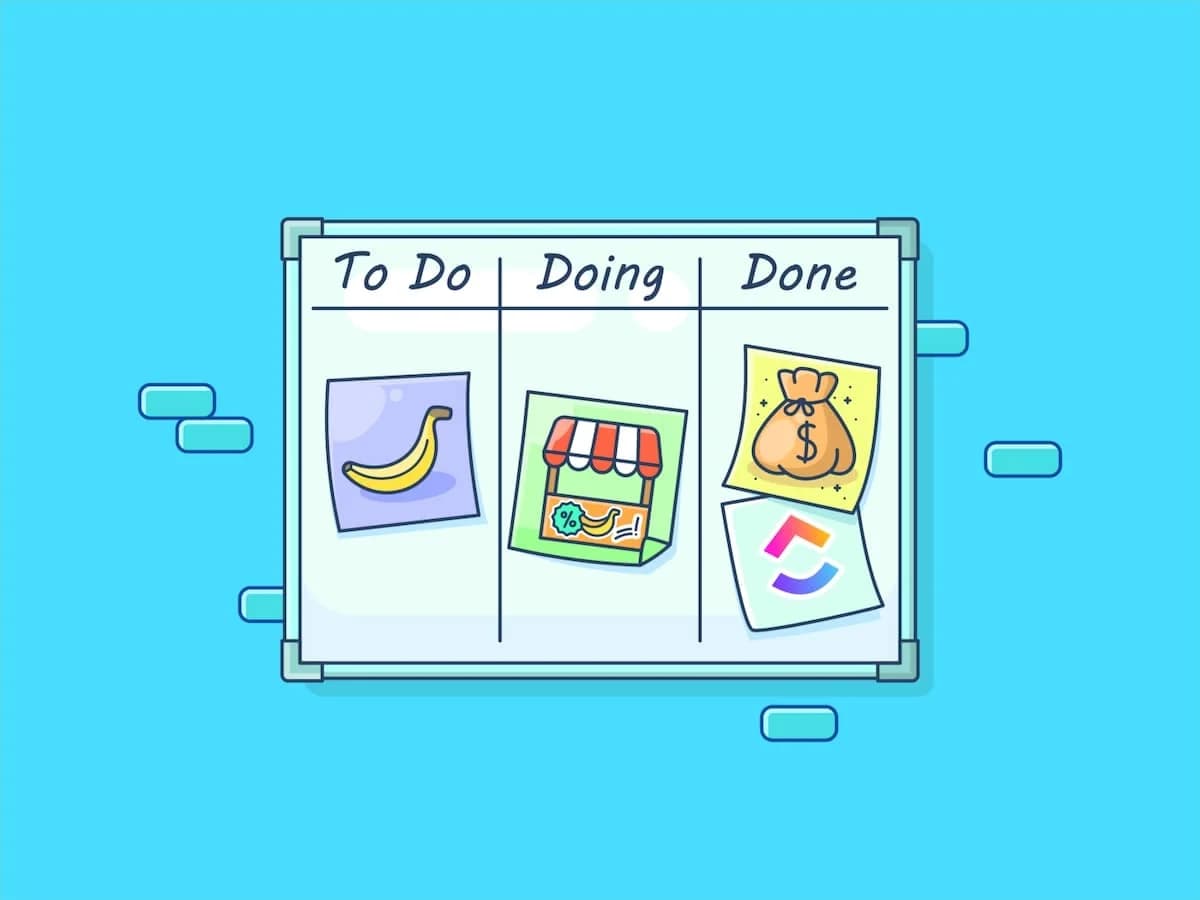
If your team works through a steady flow of tasks, a simple board might be all you need. Tools like Trello and Microsoft Planner let you organize work into columns, such as To Do, In Progress, and Done, and move tasks along as they progress.
They’re quick to set up and easy for new teammates to understand. Think of a content calendar, a hiring pipeline, or an event checklist where everyone needs to see what’s next.
However, limits show up with scale and structure. Cross-project reporting, advanced dependencies, and workload planning may be limited or require another tool. Free plans also come with restrictions. For example, Trello’s free plan allows up to 10 collaborators per Workspace, including guests and pending invitations. Exceeding that limit puts the Workspace’s boards into view-only mode and stops its automations.
Best for: Small teams managing a straightforward workflow with minimal setup.
Skip it if: Your projects have complex dependencies or you need a consolidated view of progress across multiple teams.
2. Work management platforms
Work management platforms include Asana, monday.com, ClickUp, Wrike, and Smartsheet. They combine tasks, multiple views, and automations with dashboards and integrations. Most are built for cross-functional teams where marketing, operations, and product share projects. Many now add docs, forms, chat, and AI assistants, so the line between project tool and workspace keeps moving.
The trade-off is configuration. Flexible tools need someone to design statuses, fields, and permissions. Otherwise, each team builds its own version, and reporting breaks. Pricing structures also vary more than the sticker suggests. For instance, monday.com sells paid plans in seat buckets that start at 3 seats and then rise in multiples of 5, so a team of 4 buys 5 seats and a team of 6 buys 10.
Best for: Cross-functional teams managing multiple projects that require shared visibility and coordination.
Skip it if: Your work is limited to a simple task board, or you need specialized scheduling or engineering capabilities that the platform doesn’t adequately support.
3. Agile and software development tools
Software teams manage work differently. They deal with bug reports, feature requests, backlogs, sprints, and releases, often alongside code repositories and deployment tools.
Jira, Linear, Shortcut, and GitHub Projects are designed around these workflows. Depending on the platform, teams can manage sprint cycles, estimate effort, track development progress, and connect issues to code changes.
The challenge comes when people outside engineering need to follow that work. A marketing manager checking whether a feature will be ready for launch may struggle to interpret a backlog full of technical issues.
Some companies address this by giving non-technical teams a separate project management tool. That can work, but it creates another handoff to maintain. The two systems need a reliable way to share release dates, blockers, and progress.
Best for: Engineering and product teams managing development work through backlogs, sprints, and code repositories.
Skip it if: Most of your projects involve non-technical work and your team has little need for software development workflows.
4. Scheduling and portfolio (PPM) tools
Microsoft Project, Oracle Primavera P6, and Planview handle detailed schedules and the critical path. They also cover baselines, resource leveling, and portfolio-level reporting. Construction, engineering, and government programs rely on them because their contracts and sponsors expect formal schedules.
However, the cost is expertise and overhead. A project manager or PMO may need to maintain schedules, review resource allocations, and keep portfolio reports accurate. Contributors may update their work directly or provide progress reports through another process. For a 15-person marketing team, that model puts one person in charge of keeping everyone else’s status up to date.
Best for: PMOs and organizations managing complex schedules, resource constraints, compliance requirements, or large project portfolios.
Skip it if: Your team needs lightweight task tracking and doesn’t have the resources to maintain detailed project plans.
5. Professional services and industry-specific tools
Agencies and consultancies track deliverables, but they also need to know how long a project takes, what it costs to deliver, and whether the client is profitable.
Professional services automation (PSA) tools like Productive, Kantata, and Teamwork.com add billable time, budgets, and invoices to project tracking. Some tools focus on one field. Procore, for example, supports construction work, including requests for information (RFIs) and submittals.
The trade-off is scope. A PSA tool may handle budgets well. But you may still need other tools for internal work, hiring, or company planning.
Best for: Agencies, consultancies, and niche firms with client budgets, billable work, or field-specific needs.
Skip it if: Your projects are mostly internal. You don’t need client billing or time tracking.
This ClickUp video shows how project management tools organize work. It also covers how to match a tool to your team’s size and workflow.
What to Look for in Project Management Software (10 Criteria)
Once you’ve narrowed down the type of software you need, it’s time to evaluate individual tools.
You’ll find plenty of project management software features on vendor websites. But a vendor’s feature list doesn’t tell you how well each feature works. These 10 criteria will help you decide what to check during a demo or trial.
- Workflow fit: Can the tool handle your process from the initial request to completion? Check whether common steps, such as approvals or recurring tasks, need manual workarounds
- Integrations with existing tools: Does it connect reliably with the CRM, code repositories, chat apps, calendars, and file storage your team already uses? Ask which information syncs automatically, in which direction, and what happens when a connection fails
- Migration support: Can you import projects from your current software? Test what happens to comments, attachments, subtasks, custom fields, and task history, since these may not all transfer
- Views for different teams: Can contributors manage tasks in lists or boards while project managers use timelines or Gantt charts? Leadership should also be able to see progress without asking for separate reports
- Dependencies and scheduling: Does the tool show which tasks rely on others? For complex projects, see if it supports milestones, critical paths, and schedule changes
- Workload and resource management: Can managers see who’s over capacity and who’s available? Look for resource management features that factor in estimated effort and availability, not just a count of assigned tasks
- Reporting and dashboards: Can you track progress, delays, and project health using current data? Find out whether reports update automatically or someone still has to gather the numbers by hand
- Permissions, guests, and security: Can you control access for employees, contractors, and clients? Depending on your needs, look for single sign-on (SSO), audit logs, and other security controls
- AI capabilities: Can AI summarize project activity, prepare status updates, or support automations using your project data? Test how accurate its outputs are, what information it can access, and whether the team will actually use it
- Total cost of ownership: What will the software cost once you factor in paid seats, feature limits, add-ons, setup, and migration? Check how pricing changes as your team grows
AI deserves a closer look here. According to Capterra’s 2025 Project Management Software Trends Report, 55% named adding AI functionality as the top trigger for a PM software purchase in the past 12 months. Yet 41% named AI adoption issues as their top software challenge.
Keep that gap in mind when comparing tools. An AI feature may look impressive in a demo. But you’ll get a better sense of its value by testing it with your own project data, team processes, and reporting needs.
Weight the 10 criteria by what your team needs most. A software development team may care most about repository integrations and sprint planning. An agency might prioritize guest access, time tracking, and project budgets.
The next step is to turn those priorities into a shortlist and test how well each tool meets them.
To choose project management software, map where work breaks today, decide whether to converge or connect your tools, and set requirements and a budget. Then shortlist three tools, run a two-week pilot with a weighted scorecard, calculate the first-year cost, and plan migration before you sign.
Step 1: Map where work breaks today
Start with your last three projects before you look at any vendor. Note where work slipped, whether that was a missed handoff, an outdated status, a decision buried in chat, or a client approval sitting in someone’s inbox.
Use those problems to shape your requirements. Say your launches keep slipping because design reviews happen over email. You might need better approvals and proofing. Another team that spends hours preparing leadership updates might prioritize dashboards that pull in current project data.
Where possible, record a baseline for each priority problem. For example, note how long the weekly status report takes now, so you can compare it with the time required after rollout.
Where possible, record a baseline for each priority problem. For example, note how long the weekly status report takes now, so you can compare it with the time required after rollout.
Give each project lead 20 minutes and ask one question: Where did this project lose a day? Group the answers into five or six recurring problems, then rank them by how often they happened and how much work they disrupted.
Pitfall: Avoid creating a feature wish list at this stage. “Nice dashboards” is vague. “The CMO asks for status every Friday, and it takes two hours to prepare” is a specific problem you can solve.
Step 2: Decide whether to converge or connect
Before you shortlist, decide whether the new tool should hold most of your work or connect to the specialist tools you plan to keep.
You’ve already identified the gaps between tools in the seams test. Now use those findings to decide how much of your workflow needs to move.
Practically, many organizations use a mix of both. They bring cross-functional projects into a shared workspace while keeping specialist systems that already support important processes.
Write down which systems you’ll keep, which you’ll replace, and how information needs to move between them. Then use that decision to narrow your options.
Step 3: Set requirements and budget before looking at vendors
Before scheduling demos, write down your must-haves, nice-to-haves, deal-breakers, and budget range.
Getting the right people involved early matters, too. According to G2’s 2026 Buyer Behavior Report, 39% of surveyed B2B software buyers cited IT security reviews as their biggest delay after selecting a vendor. Budget approval followed at 32%.
You don’t want to spend weeks evaluating a tool only to discover that IT won’t approve it or the pricing exceeds what finance can authorize.
Keep your must-have list to five or six requirements, each tied to a problem from Step 1. Deal-breakers might include single sign-on (SSO), data residency, audit logs, or HIPAA-related requirements where applicable. Get IT and your budget owner to review these before the evaluation moves forward.
Then bring everything into a shared document and ask someone from each team using the software to review it. Assign an owner to each requirement so someone is responsible for checking it during the trial. A software evaluation template can help organize the requirements, feedback, and final decision.
Step 4: Shortlist three tools using reliable sources
Narrow your options to three tools that fit your team’s work and the converge-or-connect decision from Step 2.
That’s a manageable shortlist, and it reflects how many buyers already work. In the 2026 TrustRadius B2B Buying Disconnect Report, 83% of surveyed technology buyers shortlisted three or fewer products. Use AI to discover options, but check its recommendations before adding a tool to your list.
Review sites like G2 and Capterra can help you spot patterns in user feedback. Filter reviews by company size and industry, and pay attention to three-star reviews. They often describe compromises that are harder to spot in strongly positive or negative ratings.
Look for recurring complaints about the features that matter to your team. If several reviewers mention unreliable integrations or poor reporting, add those concerns to your trial checklist.
Pitfall: Avoid carrying five or six tools into a full evaluation. You’ll spend more time comparing interfaces and less time testing how each tool handles actual work.
Step 5: Run a two-week pilot with a weighted scorecard
Start by giving each tool the same set of representative tasks. Involve a small group of people from at least two teams and ask them to test the workflows you identified earlier, including approvals, reporting, integrations, and migration.
Keep the tasks, test data, and scoring criteria consistent. Comparing how each tool handles the same work is fairer than having different teams test unrelated projects.
Check trial limits before you begin. For example, can’t be extended. Plan your tests around the available trial period, and confirm whether a longer pilot requires a paid plan.
Next, score each tool against the requirements from Step 3. Give every criterion a weight based on its importance to your team, then rate each tool from 1 to 5:
- 1: Fails the requirement or needs major workarounds
- 3: Handles the requirement, but with some compromises
- 5: Handles the requirement reliably in your tests
Here’s an illustrative weighted scorecard for a 40-person marketing and creative team comparing three hypothetical tools.
To calculate each total, multiply the score for each criterion by its weight, then add the results. For example, a score of 5 on a criterion weighted at 25% contributes 1.25 to the total.
Tool C comes out ahead overall. Tool A has the strongest leadership reporting score, but its migration result is the weakest. A dashboard-focused demo might make Tool A look like the better choice, while the scorecard reveals the trade-offs.
Remember that a high score doesn’t override a deal-breaker. A tool that fails your security requirements or a critical integration test shouldn’t move forward, regardless of its overall rating.
Once you have a front-runner, test it on a live project for at least two weeks before making the final commitment. You’ll get a better picture of how people use it when deadlines, handoffs, and changes are part of their normal routine.
Review what people do during the pilot, too. Are they updating their tasks without reminders? Can they find the information they need? And are they still relying on spreadsheets or messages to complete routine work?
Step 6: Calculate what the tool will really cost
Project management software is usually priced per user per month, often with discounts for annual billing. But the advertised price doesn’t always reflect what you’ll pay.
Look closer at these three:
- Seat rules: Some vendors sell licenses in fixed groups. Under monday.com’s seat-bucket pricing, for example, a 12-person team pays for 15 seats. Factor in your current team and the people you expect to hire over the next year
- Free-plan limits: Check which users, guests, and features count toward the free tier’s restrictions. Also find out what happens when you exceed a limit and whether you’ll need to upgrade
- Plan restrictions: Features available during a trial may require a higher paid tier. Some tools reserve advanced features, like workload planning, timeline views, timesheets, and reporting, for more expensive plans. Check which features your chosen plan includes, particularly if your trial gives you access to capabilities you may lose later
Once you’ve worked out subscription costs, add the expenses that may not appear on the pricing page. These include migration, training, configuration, and subscriptions for integration tools like Zapier or Make.
Here’s a simple way to estimate your first-year expenses:
First-year cost = (Billed seats × Monthly price per seat × 12) + Setup and migration costs + Training + Annual add-ons
Include any expected usage-based charges, too.
Finally, check the contract terms before signing. Find out how renewals work, whether pricing can change, what support is included, and how you’ll export your data if you decide to switch tools later.
Step 7: Plan migration and rollout before you sign
Picking the software is only part of the job. Before you sign, work out how you’ll move your existing projects, train the team, and keep everything running during the transition.
Start by importing one real project during the pilot and checking what transferred successfully. Even well-built importers have limitations.
For example, ClickUp’s Asana importer doesn’t automatically bring over:
- Freestanding tasks that sit outside a project
- Nested subtasks
- Tasks shared between projects
- Recurring and private tasks
- @mentions
You’ll need to account for these gaps before or after the import. Larger imports can also take a few hours, depending on the amount of data and Asana’s rate limits. Use the test import to document what needs fixing, who will handle it, and how long the full migration could take.
For the rollout, start with the pilot team, bring in an adjacent team, and gradually expand to everyone else. Assign someone in each team to answer questions and help colleagues get familiar with the new setup.
Treat the switch as a small change management project, with clear owners, training, and progress checks. Once you’ve confirmed that the necessary data and workflows work in the new system, set a date to archive the old tool.
That way, teams won’t have to maintain two versions of the same project indefinitely.
What Does the Right Choice Look Like for Different Teams?
The right software depends on who’s using it and what their projects involve. Here are four examples of how teams might weigh their options and what tends to tip the decision.
A 30-person software team
MAX