“Make the logo blue and add a coffee bean” gives a designer instructions. But if you say “Customers confuse our coffee shop with the gas station next door” instead, it gives them a problem to solve.
A useful design brief explains the goal you’re trying to achieve or the problem you’re trying to solve. It also tells the designer who the design should reach and what requirements the finished work must meet.
Ultimately, reviewers need a shared basis for deciding whether it works, especially when their preferences and taste differ. Yet only 15% of marketers and 23% of agency respondents in the 2025 BetterIdeas Project said their organizations always refer to the brief when reviewing creative ideas.
This guide covers what goes into a design brief, six steps to write one, and four illustrative examples. You’ll also find ready-to-use templates to help you document requirements before design begins.
TL;DR: A design brief outlines the problem you’re solving, who the design is for, and what you need delivered. It should also cover the details that can slow things down later, from content readiness and file specifications to constraints, deadlines, and final approvals. Agree on clear success criteria with the designer before work begins, then refer to the brief when reviewing feedback or handling changes.
What Is a Design Brief? How to Write One, With Examples and a Template
What Is a Design Brief?
A design brief outlines the goals, audience, deliverables, timeline, and requirements that guide the design process. It’s usually prepared by the person requesting the work, such as a client, marketing manager, or product lead, with input from the designer.
According to Chief Marketer’s coverage of the ANA’s 2025 report on creative briefs, 57% of client respondents and 52% of agency respondents identified briefs lacking clarity and focus as the most significant barrier to effective creative campaigns.
Design brief vs. creative brief: What’s the difference?
A creative brief outlines a campaign’s message, audience, and overall direction. A design brief explains how a specific design project should meet its goals, including what must be delivered and the requirements it must follow.
The two often overlap, and smaller projects may only need one document. But when used separately, the creative brief usually sets the direction the design brief builds on.
Why Does a Design Brief Matter After Kickoff?
A design brief gives everyone a shared reference as the work takes shape. You can use it to review concepts, discuss changes, and check whether the finished design meets the project’s goals.
It also helps you make sense of feedback from different people. One reviewer might flag a missed requirement, another might suggest a new approach, and a third might ask for an extra deliverable. Each comment deserves consideration, though each calls for a different response.
Say you’re reviewing a poster for an upcoming industry event. The first draft is ready, and marketing, event operations, and a sponsor have sent their feedback. Here’s how the brief helps you work through it:
- Identify required changes: The sponsor notes that the logo placement doesn’t match what was agreed in the brief. The designer needs to correct it
- Evaluate subjective feedback: A stakeholder suggests changing the entire color scheme. You can check the suggestion against the approved brand direction and the poster’s goals before deciding whether to pursue it
- Assess new requests: The events team has asked for three additional social media graphics. These fall outside the agreed deliverables, so you’ll need to assess the extra work and agree on any timeline or budget changes before committing
As you review each comment, ask three questions: Does it address an agreed requirement? Does it help meet the project’s goals? Does it add work beyond the original scope?
Of course, requirements can change as a project moves forward. If the audience, goals, or deliverables change, update the brief and get approval for the revised scope.
What Should a Design Brief Include?
A design brief should give the designer enough context to understand the project and move forward, from the problem you’re solving to who approves the final work. Here are 11 key elements to include:
- Project summary: Explain what you’re creating and why you’re starting the project now, ideally in one or two sentences
- Problem statement: Describe the business or user problem the design needs to solve, leaving room for the designer to explore solutions
- Target audience: Define who’ll see or use the design, what they already know or believe, and where they’ll encounter it
- Success criteria: Set two to four criteria you can measure or check when reviewing the finished design, plus any performance metrics you’ll track after launch
- Deliverables and specifications: List every asset you need, including dimensions, file formats, and the smallest size at which the design needs to remain clear and legible
- Constraints and requirements: Link to your brand guidelines and include any required legal copy, accessibility standards, or platform and print specifications
- What to avoid: Note any design directions you’ve already ruled out, competitor styles you want to avoid, and anything that’s off-limits
- Content status: State whether the copy and images are final, in draft, or placeholders, and name who’s responsible for providing them and by when
- Visual references: Share two or three examples or a mood board, with a short note about what you like in each, such as the layout, colors, or tone
- Timeline and review rounds: Specify how many initial concepts you expect, when the first draft is due, how long reviewers have to respond, how many revision rounds are included, and the final delivery date
- Final approver: Name who’ll sign off on the brief before work begins and who’ll approve the finished design, whether that’s the same person or two different people
If you’re working with an agency or freelancer, include the budget too. It helps define the scope of work and sets expectations for what they can deliver. For in-house projects, agree on how much time the team can commit alongside its other work.
Review content deadlines, review windows, and final approval closely before you share the brief. Designers need to know when assets will arrive, when to expect feedback, and who has the final say. Leaving those details open can lead to delays and extra revisions.
How to Write a Design Brief in Six Steps
To write a design brief, start with the problem and name the final approver. Then write checkable success criteria, specify every deliverable, and document content status and constraints. Review the completed brief with the designer, resolve any gaps, and get approval before production begins.
The steps below apply whether the brief lives in Google Docs, a FigJam board, or a project management tool.
Step 1: Start with the problem, not the design you picture
Before describing how you want the design to look, spend some time defining the problem you’re trying to solve.
It’s natural to start thinking about colors, layouts, or visual styles. But when these become the starting point, you risk narrowing the designer’s options before they’ve had a chance to explore the problem.
For example, you might start with “we need illustrated onboarding screens” when the actual issue is that new users don’t know what information to enter during setup.
To get to the root of the request, ask yourself:
- What’s happening now that prompted this project?
- Who’s affected, and what do we know about their experience?
- What should improve once the design is complete?
Summarize the problem in one or two sentences, using feedback, research, or performance data when available. This will give the designer a clearer starting point for exploring possible solutions.
Watch this walkthrough to learn how to automate creative briefs using ChatGPT, ClickUp, and other automation platforms:
Step 2: Name the final approver and agree on how feedback will be handled
Decide who has the final say on the design and who will collect stakeholder feedback. Involve the final approver as you develop the brief so you can resolve disagreements about goals and scope before work begins.
For example, if you’re commissioning a website redesign, the marketing director might be the final approver, while brand, product, and legal stakeholders provide input on their respective areas. Other project stakeholders can still share feedback throughout the process. But it’s worth agreeing on how to handle their comments.
A simple approach is to have the project owner:
- Collect feedback from everyone involved
- Resolve conflicting requests before sending them to the designer
Step 3: Write success criteria the design can be checked against
Success criteria explain what the finished design needs to achieve and how you’ll assess it. The more specific they are, the easier it becomes to review the work without relying entirely on personal preferences.
Here’s a simple way to turn broad design requests into clear, helpful expectations:
You don’t need a long list of criteria. Start with two to four that reflect the project’s main goals, and make sure everyone agrees on how to evaluate them.
Also separate these criteria from the metrics you’ll track after launch. For example, the design might meet every requirement in the brief, but you’ll still need to monitor sign-up rates or conversions to understand how it performs with real users.
Think of success criteria as your guide for approving the design, while post-launch metrics help you evaluate its impact.
Step 4: Spec every deliverable down to the smallest placement
A design that looks great in its main placement might struggle when it’s resized, printed, or used on another platform. That’s why you should describe every version you’ll need before work begins.
For each deliverable, include:
- Dimensions: The required sizes, aspect ratios, and any responsive variations
- File formats: Whether you need SVG, PNG, PDF, editable source files, or print-ready exports
- Placements: Where the design will appear, from a website banner to a small social media avatar
- Technical requirements: Any platform restrictions, resolution requirements, or printing specifications
Pay extra attention to the smallest or most restrictive placement. A detailed logo might look impressive on a website but become unreadable as a favicon or when embroidered on merchandise.
Platform guidelines can help you define these requirements. For example, Google Search Central requires favicons to be square and at least 8 × 8 pixels. However, it recommends sizes larger than 48 × 48 pixels for better display across different surfaces.
Step 5: Lock content status, constraints, and what to avoid
Before the designer starts, make sure they know which materials are ready and which are still in development.
Start by clarifying:
- Content readiness: Is the copy final, in draft, or still being written?
- Ownership: Who’s responsible for providing missing copy, images, or other assets?
- Deadlines: When will the final materials be available?
- Constraints: Are there any brand, legal, accessibility, or technical requirements the designer must follow?
Next, specify anything you’d like to avoid based on previous work, competitor research, or brand preferences. For instance, “avoid stock photos of people pointing at laptops” gives much clearer direction than asking for imagery that feels “fresh and authentic.” Attach your brand guidelines, approved assets, and other relevant documents wherever possible.
Step 6: Review the brief with the designer, then keep it attached to the work
Review the completed brief with the designer and relevant stakeholders. Ask them to flag unclear requirements, missing assets, unrealistic deadlines, or technical constraints.
Resolve those gaps, then ask the final approver to sign off on the agreed goals, deliverables, success criteria, and timeline. Record the approval date and version, and link the approved brief to the relevant design tasks or files.
Decide where the brief will live throughout the project. Ideally, it should be accessible alongside the work. The right setup depends on your project’s size and how much coordination it requires.
If something important changes, update the document and make sure everyone involved knows which version to follow.
For projects with multiple stakeholders, dedicated design collaboration software can also help you keep design files, feedback, and approvals connected.
Design Brief Examples
Design briefs can look quite different depending on what you’re creating.
Here are four illustrative examples showing how to adapt a brief to different types of design projects. Each highlights the requirements that deserve particular attention, though a complete brief should also cover the other elements we discussed earlier.
Web design brief example: B2B pricing page redesign
A marketing manager at a 60-person SaaS company wants to redesign the pricing page after sales calls reveal that prospects struggle to compare the available plans.
The brief outlines the problem, the target audience, and the content the designer will work with.
- Problem: Prospects struggle to understand the differences between the Team and Business plans on the current pricing page
- Target audience: Operations leads comparing multiple software vendors, often using a laptop during buying committee discussions
- Success criteria: The pricing cards clearly distinguish the two plans; the monthly and annual billing toggle appears without scrolling at the agreed desktop viewport width and height; the page meets the company’s existing accessibility checklist
- Content status: Plan features and pricing details are final; the product marketer is updating the FAQ copy, due May 20
- What to avoid: Comparison tables longer than 12 rows, which have made the current page difficult to scan
- Final approver: VP of marketing, with two initial concepts and two revision rounds
The designer now knows which parts of the page need the clearest visual hierarchy and which content may still change. After launch, the marketing manager can also review sales feedback and conversion data to see whether the redesign has helped prospects compare plans.
Logo design brief example: Independent coffee roaster
The owner of a two-location coffee roastery hires a freelance designer to create a new logo. The existing wordmark has fine details that become difficult to recognize on smaller packaging labels and digital profiles.
The owner needs a design that will work across several formats without losing its identity.
- Problem: The current logo loses detail at smaller sizes, making it difficult to use consistently across packaging and digital channels
- Success criteria: The logo remains legible as a one-color stamp on kraft paper bags, works as a recognizable square favicon, and can be embroidered on staff aprons
- Deliverables: Primary logo, square icon, and one-color variation, supplied in SVG, PNG, and PDF formats
- What to avoid: Coffee bean and steam icons already used by several nearby cafés
- Final approver: Business owner, with three initial concepts, two revision rounds, and a six-week delivery timeline
These requirements let the designer test each concept. A logo might look great on a large presentation slide, but the owner should also review mockups of the paper bag, apron, and favicon before approving it.
UX design brief example: Mobile checkout redesign
A product manager at an online retailer wants to improve the mobile checkout experience. Analytics show that many customers abandon checkout on the shipping address screen, but the team hasn’t confirmed why they leave.
The design brief sets the initial scope and explains how the team will test the proposed changes.
- Problem: A large share of abandoned mobile checkouts occurs on the shipping address screen, suggesting potential friction in that step
- Success criteria: The checkout flow uses no more than three screens; interactive targets meet WCAG 2.2 Level AA requirements; the designs include empty, error, and loading states
- Constraints: The redesign must use the existing component library, with no new payment providers added this quarter
- Validation: Conduct usability testing with five customers before handing the approved design to engineering
- Final approver: Head of product
The usability test is an important part of this brief because analytics alone can’t explain why shoppers abandon the form. Watching customers complete the revised flow may reveal confusing labels, missing address options, or error messages that leave them unsure how to proceed.
The designer also needs to follow specific accessibility requirements. For example, WCAG 2.2 Success Criterion 2.5.8 sets a minimum target size of 24 × 24 CSS pixels for pointer inputs, with exceptions for adequate spacing and certain types of controls.
With these requirements in place, the product manager can review the design against technical standards and usability findings before engineering begins.
Packaging design brief example: Skincare refill pouch
A direct-to-consumer skincare company receives customer complaints about its refill pouch packaging. In online product listings, the refill looks too similar to the original bottle, and some customers order the wrong format.
The brand manager asks a packaging agency to improve the distinction while keeping both products visually consistent.
- Problem: Customers struggle to distinguish the refill pouch from the original bottle in product photos, leading to incorrect orders
- Success criteria: The word “refill” and the product volume remain readable in a 300-pixel-wide product image; the packaging is still recognizable as part of the existing product line
- Constraints: The designer must follow the printer’s supplied dieline and preserve the regulatory ingredient panel provided by the compliance team
- Review requirements: The brand director must approve a printed proof before production begins
- Final approver: Brand director
The agency will need to check the packaging in both digital and physical formats. A product thumbnail helps assess whether customers can identify the refill online, while the printed proof lets the brand manager check the layout, colors, and required information before production.
The approval sequence also gives the compliance team and printer time to flag any issues before the company commits to a production run.
Before and after: Rewriting a weak design brief
Sometimes a brief includes all the right sections but still leaves too much open to interpretation. A few details can make it much more actionable.
Take a webinar landing page, for example. Here’s how you could strengthen the original brief without making it significantly longer.
Notice how the revised version gives the designer more context about the audience, the problem, and the requirements they’ll need to meet. It also makes the approval process clearer by identifying who’s responsible for the final decision.
Use the same approach when reviewing your own brief. Look for vague requests, missing details, or assumptions that someone else might interpret differently, and clarify them before the project gets underway.
Design Brief Templates
Here are three options, each suited to a different way of working.
1. ClickUp Design Brief Template
The ClickUp Design Brief Template brings the brief and project tasks into one place. Use it to track deadlines and reviews when a project involves multiple assets or people providing feedback.
The template includes:
- Custom Statuses, including Client Review and Final Approval
- Nine Custom Fields to keep project details organized
- Four views to plan work, check progress, and manage deadlines
For a product launch, for example, you could create separate tasks for the landing page, email banners, and social graphics. Each task would have its own deadline and review status, making it easier to see what’s ready and what still needs feedback.
Best for: In-house design teams and agencies managing several assets and reviewers
Skip it if: You only need a short brief for a one-off project
2. ClickUp Creative Brief Document Template
The ClickUp Creative Brief Document Template gives you a clear structure for the project’s goals, audience, scope, budget, and timeline. It’s a good starting point when you need a client to review and approve the brief before work begins.
To adapt it for a design project, add details such as asset sizes, file formats, accessibility needs, and approval criteria. In ClickUp Docs, you can work on the brief together and link it to tasks when the team is ready to start.
For agency briefs, add a section explaining which changes would require a new quote or deadline. This gives both sides a reference when requests come in later.
Best for: Freelancers, agencies, and marketing managers seeking client approval before design starts
Skip it if: You need a workflow to track a high volume of design requests
3. Miro Design Brief Template
The Miro Design Brief Template gives your team a shared board to map out the project’s goals, audience, budget, scope, and creative direction. You can add mood boards, brand assets, and competitor examples to discuss at kickoff.
For a rebrand, for example, the team could compare visual styles on the board and agree on which ideas the designer should explore. Keeping the examples beside the brief makes it easier to explain what you like about each one.
Best for: Branding projects, team workshops, and briefs that rely on visual references
Skip it if: You need the brief to include detailed task tracking and formal approval steps
For more options, explore these design brief templates, which include document, Whiteboard, and project-tracking formats.
Create your own design brief template from scratch
You can also copy the outline below into your preferred tool. Fill in the sections that fit your project and add links to any files the designer will need.
Once the brief is ready, ask the final approver to sign off before design begins. Save the approved version, then update it and get fresh approval if the scope changes.
For in-house projects, turn this outline into an intake form. Make the problem, deliverables, deadline, and approver required fields so that each request includes the details you need to assign the work.
Common Design Brief Mistakes (and How to Fix Them)
Even a clear brief can leave a few gaps. Details such as font licenses, translation needs, or file formats are easy to miss until they hold up the work. Here are six mistakes to check for before design begins.
Build these checks into your approval workflow so each one has a clear owner.
How to Run Design Briefs in ClickUp
From the first brainstorming session to final approval, design projects involve plenty of moving parts. ClickUp brings your briefs, design tasks, and feedback into one creative workflow, so everyone can work from the same requirements throughout.
1. Brainstorm and organize ideas with ClickUp Whiteboards
Start in ClickUp Whiteboards to collect visual references, mood boards, competitor examples, and stakeholder ideas.
Arrange these elements on a shared board to explore different design directions. Once you’ve agreed on an approach, link a Doc to the Whiteboard or turn actionable ideas into tasks.
2. Build your brief with ClickUp Docs and Brain²
Bring the agreed requirements into ClickUp Docs, covering the project goals, audience, deliverables, constraints, and approval criteria. Link supporting files and brand guidelines for easy reference.
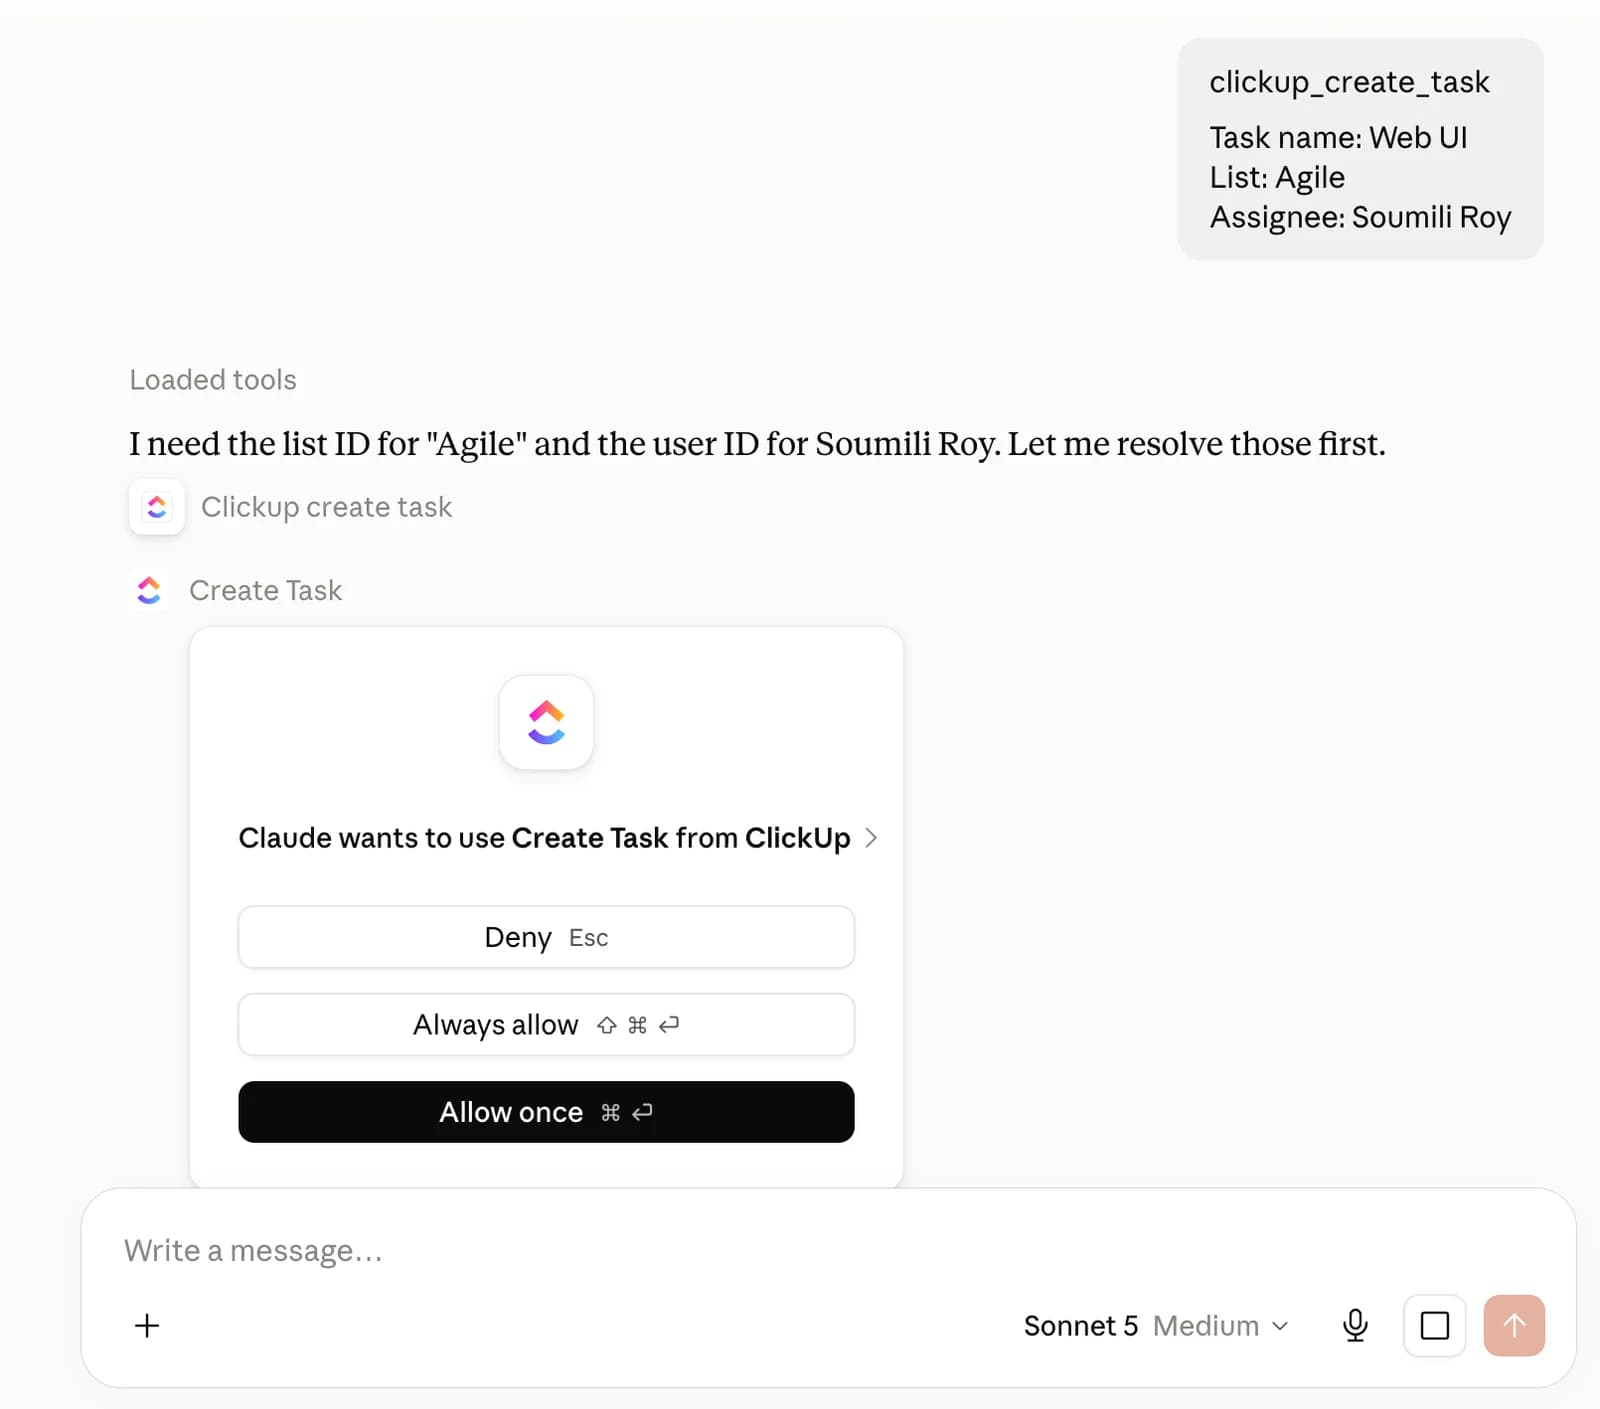
With Brain², you can use existing workspace context to draft the brief. Also, configure a ClickUp Super Agent to review incoming requests for missing details, such as the approver or success criteria.
Review the draft with stakeholders and finalize the brief before assigning work.
3. Assign deliverables and track progress with ClickUp Tasks
With the brief approved, turn each deliverable into a ClickUp Task, complete with an owner, deadline, and linked requirements.
4. Collect feedback and approve designs with ClickUp Proofing
As designs come in, ClickUp Proofing lets reviewers annotate images, videos, and PDFs directly within tasks.