Using a Voice Proxy to Keep Personal Numbers Private
You know the routine: you've ordered delivery, but the door code to your apartment building isn't working, so the delivery person needs to call you to complete the order. Neither you nor the delivery person wants to expose a personal phone number to the other. That's a privacy concern and it's also a practical one. Callers are more likely to answer a number with a familiar area code than an unknown one.
Call forwarding can route calls through an intermediary number, keeping personal phone numbers private. This pattern is known as a voice proxy.
In this tutorial, we'll use Starlette and Vonage to build a voice proxy in Python. Starlette handles the server logic and Vonage handles the telephony. Read on to learn about each component before completing the tutorial, or jump straight to the README to get the code up and running.
What Is Starlette?
If you’re a Python developer, you’re probably familiar with some of the most popular frameworks from Flask to Django to FastAPI. Each one provides structure and opinions about HTTP-based development, but at their core they all share a fundamental pattern of routing requests to handlers and returning responses. Starlette is the lightweight ASGI toolkit that powers FastAPI and can be used directly when you need a minimal but fully async-capable web framework without all the additional features.
What is ASGI and How Does Starlette Leverage It?
The Asynchronous Server Gateway Interface (ASGI) is a specification (or calling convention) for web servers to forward requests to async-capable Python frameworks. You can think of ASGI as a contract that defines how web servers interact with Python applications. The interface signature looks like this:
The parameters in this interface are defined as:
- scope is a dictionary of metadata describing the incoming request. This parameter helps define what kind of connection needs to be created so communication between a server and a Python application can be successful.
scope is a dictionary of metadata describing the incoming request. This parameter helps define what kind of connection needs to be created so communication between a server and a Python application can be successful.
- receive is a callable used to accept and process events from a client. It returns a dictionary representing the events it receives.
receive is a callable used to accept and process events from a client. It returns a dictionary representing the events it receives.
- send is a callable that sends events back to the client. This is what is called to build and send a response.
send is a callable that sends events back to the client. This is what is called to build and send a response.
So an example of a complete ASGI application looks like this:
This pattern is what Starlette abstracts away so you don’t have to write out each contract by hand. Without Starlette, your web app would have to handle your routing with layers of if/else statements:
Starlette abstracts away all the boilerplate redundancy into a clean API:
The code above can be broken down into these building blocks:
- The Route object maps a URL path and HTTP method to a function. In this example, "/users" and the GET method are mapped to the list_users function.
The Route object maps a URL path and HTTP method to a function. In this example, "/users" and the GET method are mapped to the list_users function.
- The Request object that both list_users and get_user take as a parameter contains the metadata about the incoming connection (the scope) as well as the function that processes the message received from the client (the receive callable).
The Request object that both list_users and get_user take as a parameter contains the metadata about the incoming connection (the scope) as well as the function that processes the message received from the client (the receive callable).
- The JSONResponse object processes the message that will be sent back to the client (the send callable).
The JSONResponse object processes the message that will be sent back to the client (the send callable).
- async def is the Python syntax for defining a coroutine function, which enables asynchronous operation without blocking.
async def is the Python syntax for defining a coroutine function, which enables asynchronous operation without blocking.
Because Starlette handles routing and request/response handling without bundling additional layers like ORM, authentication, or templating, it's an ideal fit for a focused project like this voice proxy.
You can refer to the project for an example of a minimal Starlette application. To learn more about Starlette, refer to the .
What Is a Voice Proxy and How Does It Work?
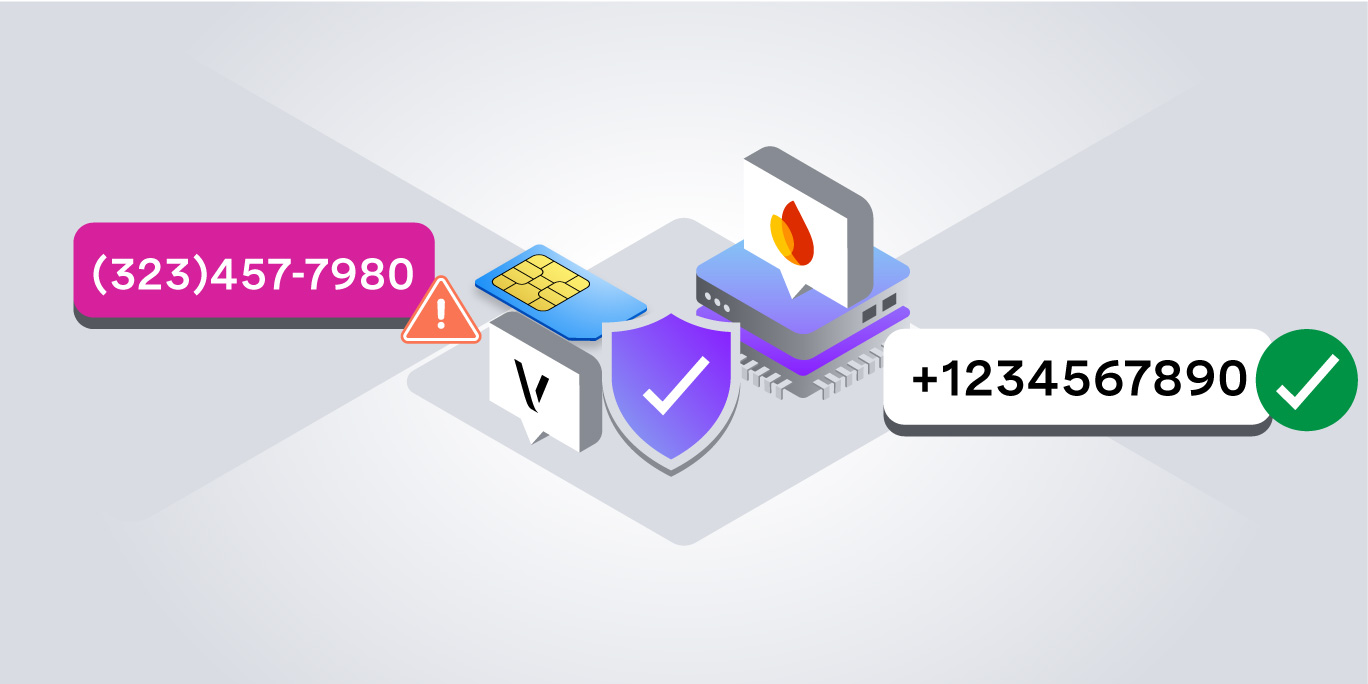
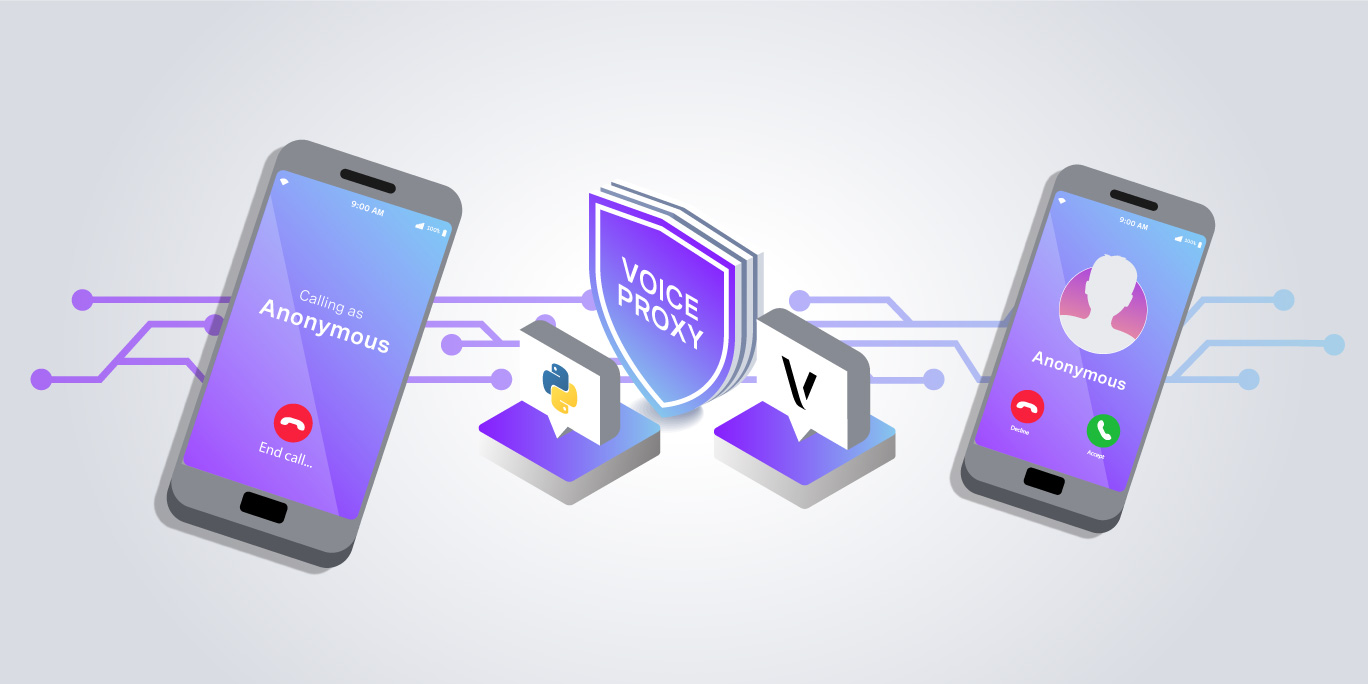
A voice proxy (also known as call masking) is a method by which phone calls are routed to their destinations through an intermediary phone number. The final phone number is masked behind the intermediary number, thereby maintaining its privacy. Each participant receives a temporary number enabling them to communicate directly in real-time without divulging either party’s personal number. Once the call is completed, the intermediary number is released and available to be used in another proxy.
When someone calls a voice proxy number, the call is received by an application that then forwards it to the real number of the intended recipient without ever revealing it to the caller. Similarly, the person receiving the call sees only the intermediary number and not the caller’s actual number, thus maintaining mutual phone number anonymity.
Call masking is useful in peer-to-peer commerce scenarios such as the one described earlier in this tutorial and and can help track and control calls and transactions. With Vonage Voice and the Vonage Python SDK, you can implement call masking with an API that abstracts away all the complex telephony infrastructure.
Vonage Voice and Call Control Objects (NCCO)
The Vonage Voice API lets you connect people around the world and automate voice interactions that extend your product experience. You can programmatically manage voice calls using two complementary models:
- One is initiated by your application, using REST API calls or SDKs.
One is initiated by your application, using REST API calls or SDKs.
- The other is requested from your application by Vonage, using webhooks and Call Control Objects (NCCO) instructions.
The other is requested from your application by Vonage, using webhooks and Call Control Objects (NCCO) instructions.
This dual approach supports flexible call handling to implement various call flows and programmable voice use cases, from simple notifications to sophisticated contact center flows and AI integration.
An NCCO is a JSON-based structure that defines what should happen during a call. You return it in response to Vonage’s webhook request when the call connects.
Common NCCO actions include:
- talk: Convert text to speech and play it to the caller
talk: Convert text to speech and play it to the caller
- stream: Play an audio file
stream: Play an audio file
- record: Record the call audio
record: Record the call audio
- connect: Connect another participant to the conversation
connect: Connect another participant to the conversation
For this application, we'll use the connect action to connect the call to different endpoints. An endpoint can be another phone number, a WebSocket, or a SIP endpoint. In this tutorial, we'll connect to a phone number to mask the origin numbers on either side of the call.
Refer to the Voice API and NCCO documentation to learn more.
Tunneling
Since we’ll be running the Starlette application locally, we’ll need a way to make it accessible to Vonage via a public URL. That’s where tunneling comes in. Tunneling exposes local servers to the public internet through temporary or static public URLs. ngrok is a software platform that provides this service.
You can learn about using ngrok with Vonage in the documentation.
Tutorial: Forward a Telephone Call Via Voice Proxy with Python, Starlette, and Vonage
In this tutorial, we will use Starlette to define a webhook that the Voice API can make a request to and create a voice proxy using a NCCO connect action. The workflow is as follows:
- The end-user dials a Vonage virtual number.
The end-user dials a Vonage virtual number.
- Vonage makes a request to the webhook defined in the Starlette server.
Vonage makes a request to the webhook defined in the Starlette server.
- The server returns a connect NCCO action.
The server returns a connect NCCO action.
- Vonage forwards the call to the configured destination number.
Vonage forwards the call to the configured destination number.
- Neither party sees the real phone numbers – they only see the virtual number.
Neither party sees the real phone numbers – they only see the virtual number.
View the full code for this tutorial on GitHub and follow the to get it up and running. We'll cover the notable parts of the code below.
Prerequisites
- Python 3.10+
Python 3.10+
- A Vonage API account and virtual number
A Vonage API account and virtual number
- A Vonage CLI installation (optional)
A Vonage CLI installation (optional)
- An ngrok account and installation
An ngrok account and installation
Tutorial Setup
Create a Vonage Voice application
You will need to create a Vonage Voice application to use with this tutorial. There are two ways you can do that:
- Via the Vonage developer dashboard
Via the Vonage developer dashboard
- Via the Vonage CLI
Via the Vonage CLI
Either way, make sure to select and link a Voice capable number to use with this tutorial.
Set up your development environment
Follow the instructions in the to create a virtual environment and install the project dependencies:
And then:
Learn more about virtual environments with our blog post.
Configure your environment variables
Copy and rename the env.template file:
And populate the file with your Vonage virtual number and the number for a device that you will use to test the voice proxy application. This is the number that Vonage will connect to using a virtual number to mask the origin number:
Spin up an ngrok tunnel
To make your application accessible to Vonage, use ngrok to create a tunnel to a public URL on port 8000:
To learn more about using ngrok with Vonage applications, read our blog post.
Define and Configure Your Webhooks With Starlette and Vonage
The Starlette application can be found in the server.py file. With all the boilerplate of ASGI abstracted away, Starlette enables us to build a voice proxy with fewer than 100 lines of code, while Vonage handles the telephony complexity through an API backed by a Pydantic-powered SDK.
Here we define a VoiceProxy class that extends Starlette’s HTTPEndpoint class. This class allows us to configure HTTP handlers as methods on one class rather than writing a single function that requires manually checking the request method.
The GET method is responsible for returning the NCCO action that creates the call masking with connect. In this instance, we have connect configured to use a phone number endpoint. This is the number that will receive the masked call from the configured from number, which, in this scenario, is your Vonage virtual number:
This method is the webhook Vonage will send a request to when your virtual number is called.
Vonage Voice applications can also be configured with an event webhook. This is an endpoint that requests are sent to as Voice events occur. In our voice proxy application, we use the post method to log our Voice workflow and demonstrate call masking in action:
Finally, we register our routes and pass them to the Starlette app:
Start the application using uvicorn:
Configure your webhooks with Vonage
For Vonage to reach your app, use the public URL generated by ngrok. Edit your Voice application in the Vonage Developer Dashboard so that the Answer URL and Event URL point to the ngrok-provided URL. It will look something like this:
Make sure to set the appropriate request methods for each one:
- GET for the Answer URL
GET for the Answer URL
- POST for the Event URL
POST for the Event URL
Try It Out!
To try out the application, you will need two devices capable of making and receiving a phone call.
- On the device with the phone number not configured for use with the application, call your Vonage virtual number.
On the device with the phone number not configured for use with the application, call your Vonage virtual number.
- You should hear a text-to-speech greeting followed by ringing as Vonage calls the test number you provided to the application.
You should hear a text-to-speech greeting followed by ringing as Vonage calls the test number you provided to the application.
- The device associated with the test number should ring, but instead of coming from the device you made the initial call with, the number displayed should be your virtual number. In other words, the Vonage virtual number masks your private phone number.
The device associated with the test number should ring, but instead of coming from the device you made the initial call with, the number displayed should be your virtual number. In other words, the Vonage virtual number masks your private phone number.
You can check the call event logs to further confirm this:
In this example:
- 12015551497 is the intermediary masking number.
12015551497 is the intermediary masking number.
- 18055556289 is the number initiating the call.
18055556289 is the number initiating the call.
- 14155555833 is the number being connected to using the masking number.
14155555833 is the number being connected to using the masking number.
Using a proxy, the callers can be connected without revealing their phone numbers to each other. This enables peer-to-peer customer service while protecting customer privacy.
In Summary
In this tutorial, you built a voice proxy application in Python using Starlette and the Vonage Voice API. A voice proxy -- also known as call masking -- routes calls through an intermediary virtual number so neither party ever sees the other's real phone number. You learned how Starlette's lightweight ASGI toolkit simplifies webhook handling, how Vonage's Call Control Objects (NCCOs) define call behavior, and how ngrok exposes your local server to Vonage during development. By the end, you had a working application that connects two callers through a Vonage virtual number while keeping both phone numbers private -- a pattern with real-world applications in delivery, ride-sharing, marketplace, and customer service platforms. To learn more about how you can use Vonage to integrate Voice into your applications and services, check out our Voice Learning Paths or watch the video below on how to automate calls with AI.
Further Reading and References
- : Starlette is a lightweight ASGI framework/toolkit, which is ideal for building async web services in Python.
: Starlette is a lightweight ASGI framework/toolkit, which is ideal for building async web services in Python.
- : A demo application showing how to build a voice proxy (call masking) service using the Vonage Voice API and Starlette, a lightweight Python ASGI framework.
: A demo application showing how to build a voice proxy (call masking) service using the Vonage Voice API and Starlette, a lightweight Python ASGI framework.
- Build Real-Time AI Voice Agents with Pipecat, AgentCore, and Vonage: Learn how to build an AI voice agent with Vonage, Pipecat, AWS Nova Sonic, and AgentCore for real-time phone conversations.
Build Real-Time AI Voice Agents with Pipecat, AgentCore, and Vonage: Learn how to build an AI voice agent with Vonage, Pipecat, AWS Nova Sonic, and AgentCore for real-time phone conversations.
- Build a Conference Call System with Python: Learn how to connect multiple parties to the same conference call in Python using the Vonage Voice API and the Flask framework.
Build a Conference Call System with Python: Learn how to connect multiple parties to the same conference call in Python using the Vonage Voice API and the Flask framework.