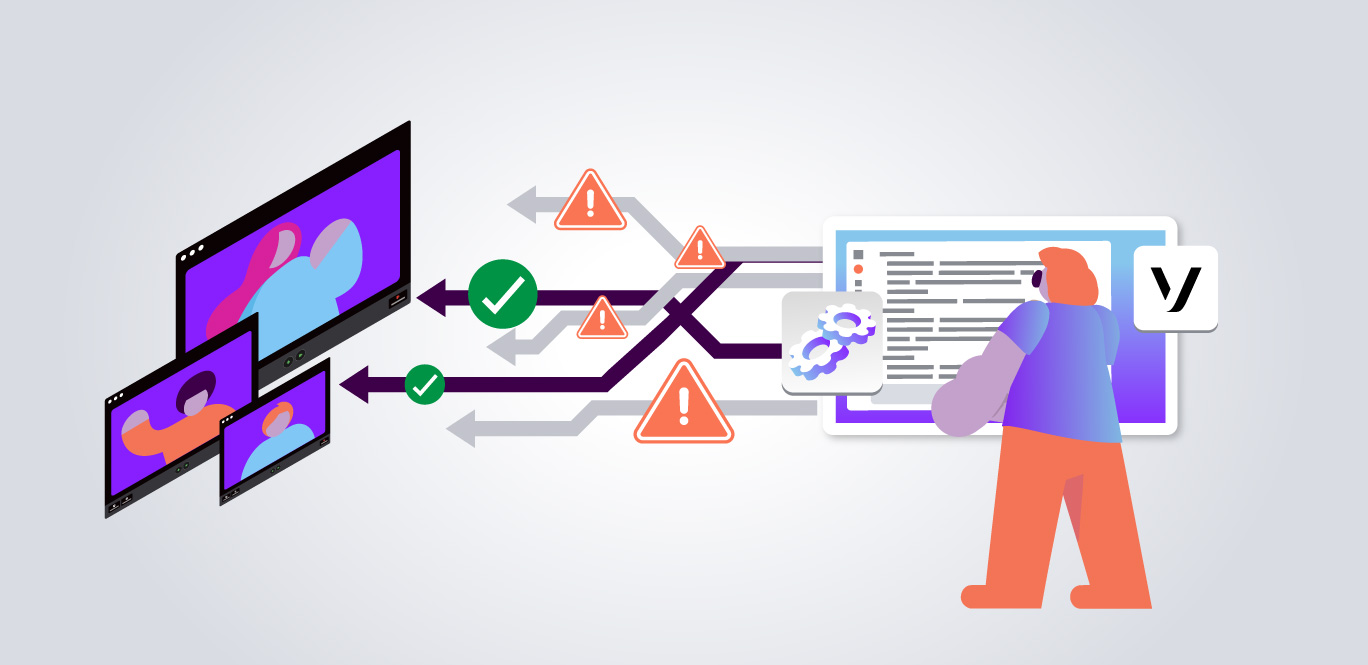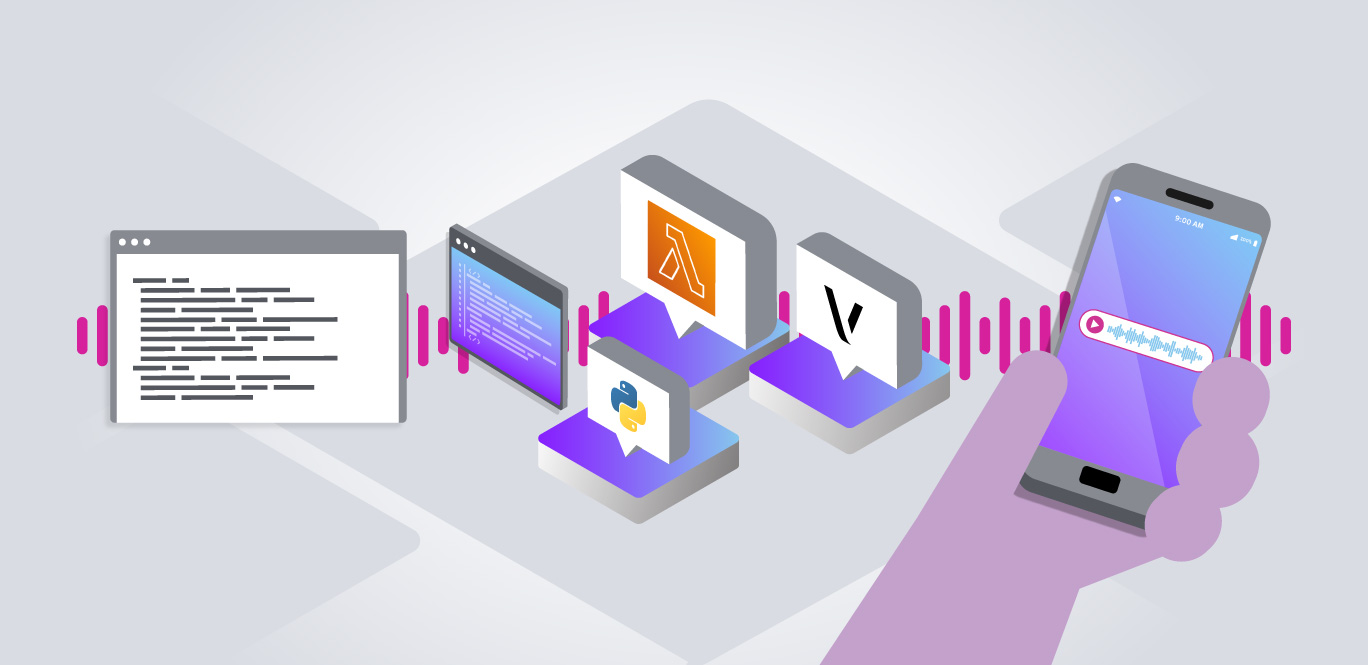
Some Vonage Voice API flows take several round trips: you place the call, Vonage hits your answer webhook, you wait for keypad input, play a follow-up message, and collect a result. For a PIN verification flow, that's four or five webhook interactions before you know whether the user entered the right code.
If your main application already has other responsibilities, embedding that orchestration inline gets messy fast. A small serverless function that owns the whole call flow and fires a single result callback is a cleaner solution.
You'll deploy that function here. By the end of this tutorial, you'll have a Python app on AWS Lambda that:
- Calls a number and plays a configurable opening message.
Calls a number and plays a configurable opening message.
- Waits for the recipient to enter a PIN.
Waits for the recipient to enter a PIN.
- Plays an error message and retries on an incorrect entry for up to three attempts.
Plays an error message and retries on an incorrect entry for up to three attempts.
- Terminates the call silently after three failed attempts.
Terminates the call silently after three failed attempts.
- Sends a callback to your webhook with the transaction ID and PIN entry outcome once the call ends.
Sends a callback to your webhook with the transaction ID and PIN entry outcome once the call ends.
This replaces the deprecated TTS Prompt API with a maintainable, serverless approach you control entirely.
Tldr; View the finished sample in the Vonage Community GitHub repository.
Tldr; View the finished sample in the Vonage Community GitHub repository.
Before You Begin
What Is AWS Lambda?
AWS Lambda is a serverless compute service from Amazon Web Services. You write a function, deploy it, and AWS runs it on demand in response to an HTTP request or event. There are no servers to provision, patch, or scale. Lambda handles all of that, and you pay only for the compute time you actually use.
This tutorial touches four AWS services:
- Lambda: the function that runs your call logic.
Lambda: the function that runs your call logic.
- API Gateway: the HTTP layer that exposes your Lambda function as a set of URLs Vonage can reach.
API Gateway: the HTTP layer that exposes your Lambda function as a set of URLs Vonage can reach.
- DynamoDB: a key-value store that holds call state between Lambda invocations.
DynamoDB: a key-value store that holds call state between Lambda invocations.
- IAM: the permission policies that allow Lambda to read and write DynamoDB and write logs to CloudWatch.
IAM: the permission policies that allow Lambda to read and write DynamoDB and write logs to CloudWatch.
Chalice, the framework used here, creates and wires up all four automatically when you run chalice deploy.
What a Successful Implementation Looks Like
Here's how the two flows look side by side.
Without Lambda, your application server has to stay involved for every step of the call:
- Your server places the call via the Vonage API.
Your server places the call via the Vonage API.
- Vonage hits your server's answer webhook. Your server returns an NCCO.
Vonage hits your server's answer webhook. Your server returns an NCCO.
- Vonage hits your server's input webhook with the PIN digits. Your server checks the PIN.
Vonage hits your server's input webhook with the PIN digits. Your server checks the PIN.
- If the PIN is wrong, your server returns a new NCCO to retry and waits for another input webhook.
If the PIN is wrong, your server returns a new NCCO to retry and waits for another input webhook.
- After up to three attempts, your server records the result and moves on.
After up to three attempts, your server records the result and moves on.
Your main application is blocked on webhook traffic for the entire duration of the call, and you need to manage retry state in memory or a database on your side.
With Lambda, your server is involved only at the start and end:
- Your server sends a single POST to the Lambda /call endpoint with the number, PIN, and a callback URL.
Your server sends a single POST to the Lambda /call endpoint with the number, PIN, and a callback URL.
- Lambda places the call and handles every Vonage webhook itself: answer, input, retry, and hang-up.
Lambda places the call and handles every Vonage webhook itself: answer, input, retry, and hang-up.
- Once the call reaches a terminal state, Lambda sends one callback to your server with the transaction ID and outcome (ok, failed, or error).
Once the call reaches a terminal state, Lambda sends one callback to your server with the transaction ID and outcome (ok, failed, or error).
Your server fires one request and waits for one callback. Lambda and DynamoDB handle all the state management and retries in between.
Prerequisites
Before starting, make sure you have the following:
- An AWS account. This application runs within the AWS Lambda free tier.
An AWS account. This application runs within the AWS Lambda free tier.
- AWS CLI (installation guide) installed and configured with your credentials.
AWS CLI (installation guide) installed and configured with your credentials.
- Chalice () installed on your machine. Install it with:
Chalice () installed on your machine. Install it with:
- A Vonage API account. Sign up for free if you do not have one. You will need your API key, API secret, and a Vonage application with a private key.
A Vonage API account. Sign up for free if you do not have one. You will need your API key, API secret, and a Vonage application with a private key.
- A Vonage application with Voice capabilities enabled, and the private key saved locally as private.key. Make a note of the Application ID.
A Vonage application with Voice capabilities enabled, and the private key saved locally as private.key. Make a note of the Application ID.
- A Vonage virtual number linked to your application. You can buy one from Numbers > Buy Numbers in the Vonage Dashboard.
A Vonage virtual number linked to your application. You can buy one from Numbers > Buy Numbers in the Vonage Dashboard.
Note: This tutorial was tested with Python 3.11, Chalice 1.33, AWS CLI 2.x, and version 4.x of the Vonage Python SDK. Version 4 of the SDK was a ground-up rewrite and is not compatible with v3 code. If you are working from an older tutorial, see the v3 to v4 migration guide.
Deploy and Configure
Deploy the Function
Clone the repository to your local machine:
Switch into the project folder:
Deploy the function to your AWS account:
Chalice will prompt you to confirm the IAM execution policy. Review the listed permissions and enter y to continue:
The final line is the base URL of your deployed function. Save it. You will need it in the next steps. You can retrieve it at any time by running chalice url.
Set Up DynamoDB
The function uses AWS DynamoDB to store call state between interactions. Each webhook Vonage sends is a separate Lambda invocation with no memory of the last one, so the PIN, the messages, and the attempt count have to live somewhere outside the function.
After the first deploy, create the required table by making an HTTP GET request to the /setup endpoint:
Note that chalice url already ends in a slash, so there is no second one before setup. You only need to do this once: the endpoint is idempotent, and calling it again simply returns {"result": "already exists"}.
Trigger a Call
Invoke the Function
With the function deployed, trigger a call by sending an HTTP POST request to <your-base-url>call with the following parameters:
Parameter
Value
Example
The number to call in E.164 format, without a leading +
14155550100
from
The Vonage number on your account to use as caller ID
14155550101
text
The opening message played to the recipient
"Enter your PIN"
pin_code
The PIN the recipient should enter (digits only, 20 max)
1234
callback
The URL where the result will be sent
https://example.com/callback
callback_method
The HTTP method used for the callback
GET or POST
bye_text
The message played on a successful PIN entry
"Thank you, goodbye"
failed_text
The message played on an incorrect PIN entry
"Incorrect, try again"
Authentication
The Lambda function does not store your Vonage credentials. You pass them in with each request, and they are used only for that call.
You have two authentication options: pass your private key directly in a cURL request, or generate a JWT and send it as a Bearer token. The /call endpoint accepts either form-encoded or JSON bodies, so both styles work against the same route. The JWT approach is recommended. Your private key never leaves your machine, and the token you send instead is short-lived and scoped to a single application.
cURL (Private Key Auth)
Replace the URL with your own base URL before running:
Important: Never share or commit your private.key file. Keep it out of version control and do not expose it in shared command history or scripts.
Python (JWT)
Install the Vonage Python SDK and requests:
The SDK uses a monorepo structure, so installing the top-level vonage package also pulls in vonage-jwt, which is what you'll use to sign the token. There's no need to install it separately.
Generate a JWT with your application ID and private key, then send it as a Bearer token:
One detail worth pausing on: generate_application_jwt() returns bytes, not a string. Drop the .decode() and the f-string will happily interpolate the repr instead, sending Authorization: Bearer b'eyJhbGci...' and earning you a 401 that looks nothing like an encoding problem.
The method also takes an optional dictionary of claims if you need to override the defaults. One default worth knowing about: tokens expire after 15 minutes. A PIN prompt call involves several webhook round trips and a human typing on a keypad, so if you expect recipients to take their time, or you are queuing calls rather than placing them immediately, consider passing a longer expiry:
The maximum permitted JWT lifetime is 24 hours. Keep it as short as your flow allows.
For either method, the response is a JSON object containing a transaction ID:
Save the tid value. It is the reference for the call and will appear in the callback once the interaction is complete.
How the Call Flow Works
Once a call is placed, Vonage drives the flow through a series of webhooks. Here's what happens at each step.
Collecting the PIN
The NCCO your answer webhook returns is where the real work happens. It speaks your message and then collects digits:
The input action trips developers up in two places.
The first is that input types have to be declared explicitly in a type array, with the DTMF (Dual-tone multi-frequency) options nested under a dtmf key. Older examples set a flat maxDigits directly on the action; that form is no longer accepted.
The second is the shape of what comes back. Vonage posts the result to your eventUrl like this (full input event reference):
dtmf is an object, not a string. Comparing it directly against the expected PIN silently fails every time: the code looks right, no exception is raised, and every caller is told their correct PIN was wrong. Read dtmf["digits"].
bargeIn on the talk action lets the recipient start typing before the message finishes, which matters more than it sounds for anyone who has heard the prompt before. It requires an input action immediately after it.
Callbacks
When the call ends, the Lambda function sends a POST (or GET) request to the webhook URL you specified. The callback includes the following parameters:
Parameter
Value
Example
The number called in E.164 format
14155550100
tid
The transaction ID
6a2827c9-4c68-46fc-b179-115f055dc0eb
status
The outcome of the call
The status field will contain one of the following values:
- ok: the call completed and the recipient entered the correct PIN.
ok: the call completed and the recipient entered the correct PIN.
- failed: the call completed but the recipient did not enter the correct PIN within three attempts.
failed: the call completed but the recipient did not enter the correct PIN within three attempts.
- error: the call was not completed (busy, rejected, unanswered, cancelled, or hung up before a PIN was submitted).
error: the call was not completed (busy, rejected, unanswered, cancelled, or hung up before a PIN was submitted).
That last one is worth being deliberate about. It is tempting to fire the callback only when the call status is completed, but completed means the call connected and ran to the end. A call that was never answered reaches a terminal status of unanswered, and if you are not watching for it, your application waits forever for a result that never arrives. The function treats completed, failed, rejected, busy, cancelled, unanswered, and timeout as terminal and reports on all of them.
Next Steps
Your function is live and making real calls. A few things worth exploring from here:
- Adjust the retry count. MAX_ATTEMPTS at the top of app.py controls how many tries the recipient gets. DTMF_TIMEOUT next to it controls how long Vonage waits between digits before submitting.
Adjust the retry count. MAX_ATTEMPTS at the top of app.py controls how many tries the recipient gets. DTMF_TIMEOUT next to it controls how long Vonage waits between digits before submitting.
- Change the voice. The Vonage Voice API supports multiple languages and voices, set with the language and style parameters on the talk action. (Older examples use voiceName; it has been replaced by this pair.) Both are exposed as the TALK_LANGUAGE and TALK_STYLE environment variables. See the full list in the Text-to-Speech documentation.
Change the voice. The Vonage Voice API supports multiple languages and voices, set with the language and style parameters on the talk action. (Older examples use voiceName; it has been replaced by this pair.) Both are exposed as the TALK_LANGUAGE and TALK_STYLE environment variables. See the full list in the Text-to-Speech documentation.
- Put authentication in front of /call. The endpoint is open by default: anyone who learns the URL can place calls through it. An API Gateway authorizer or API key is the minimum before this goes anywhere near production.
Put authentication in front of /call. The endpoint is open by default: anyone who learns the URL can place calls through it. An API Gateway authorizer or API key is the minimum before this goes anywhere near production.
- Clean up DynamoDB. Call details are stored in DynamoDB after each call and are never removed. Add a TTL attribute or a cleanup job to manage storage costs.
Clean up DynamoDB. Call details are stored in DynamoDB after each call and are never removed. Add a TTL attribute or a cleanup job to manage storage costs.
- Tear down the deployment. To remove all AWS resources created by this tutorial, run chalice delete. This removes the Lambda function, API Gateway endpoints, and associated IAM role. The DynamoDB table is not deleted automatically; remove it separately from the AWS Console or with the AWS CLI.
Tear down the deployment. To remove all AWS resources created by this tutorial, run chalice delete. This removes the Lambda function, API Gateway endpoints, and associated IAM role. The DynamoDB table is not deleted automatically; remove it separately from the AWS Console or with the AWS CLI.
- Explore the Voice API. The Vonage Voice API overview covers the full range of call control options, including recording, conferencing, and inbound call handling.
Explore the Voice API. The Vonage Voice API overview covers the full range of call control options, including recording, conferencing, and inbound call handling.
In Summary
Here's what you shipped:
- A Lambda function backed by API Gateway and DynamoDB, deployed with a single chalice deploy.
A Lambda function backed by API Gateway and DynamoDB, deployed with a single chalice deploy.
- A call flow that handles answer, PIN collection, retry, and hang-up webhooks without your main application staying involved.
A call flow that handles answer, PIN collection, retry, and hang-up webhooks without your main application staying involved.
- Two authentication paths: private key via cURL for quick testing, JWT for anything that runs in code.
Two authentication paths: private key via cURL for quick testing, JWT for anything that runs in code.
- Two NCCO input pitfalls flagged: the required type array, and dtmf["digits"] instead of dtmf itself.
Two NCCO input pitfalls flagged: the required type array, and dtmf["digits"] instead of dtmf itself.
One request in, one callback out. Lambda handles everything in between.