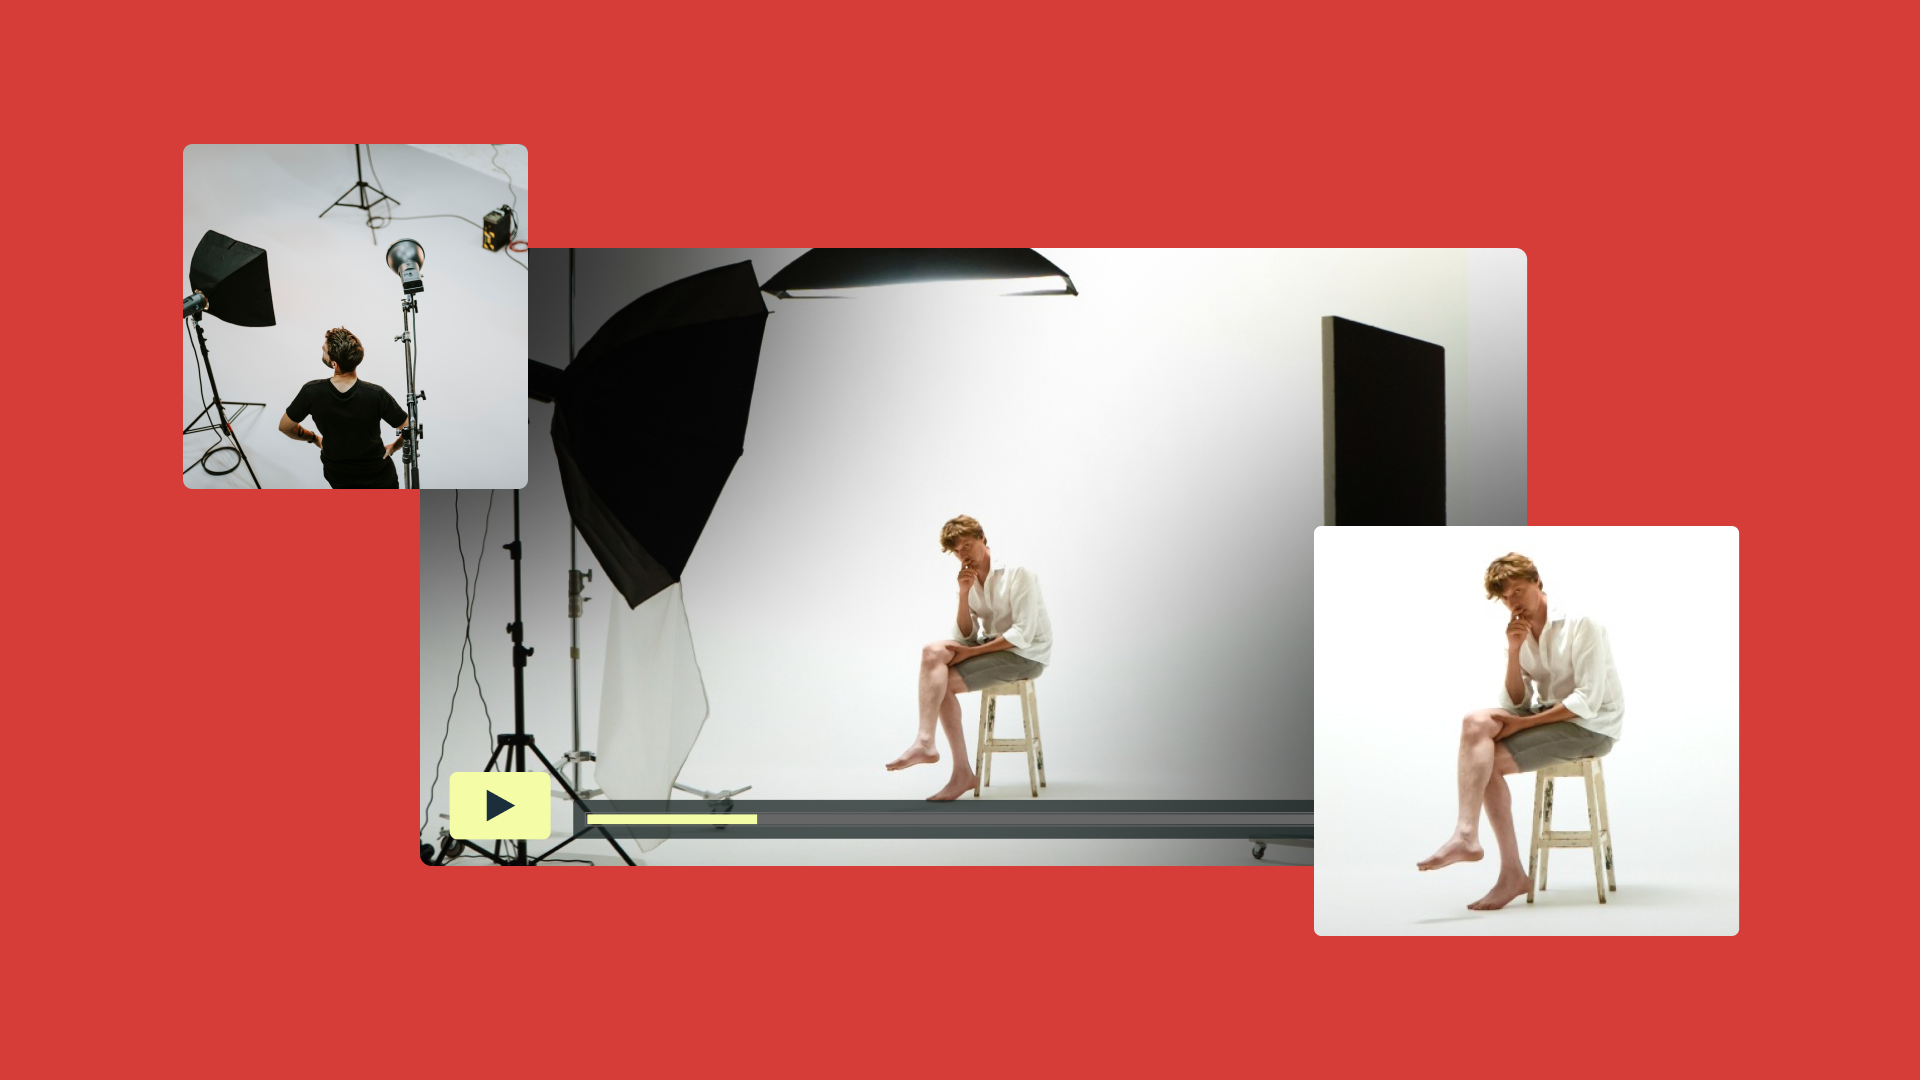
The three-point lighting technique uses three separate light sources in specific locations around a subject. Together, the lights control how bright the subject appears, where shadows fall, and how much contrast you see in the shot. Light from different positions gives subjects more depth on camera than illuminating everything evenly from a single direction.
A three-point lighting setup is widely used in everything from interviews and product videos to photography and narrative film, but not every shoot needs three lights. A single light source works when you want a simpler setup, while natural light can be enough when the conditions are right. Three-point lighting offers more control over the final look because you can adjust each light individually.
Create your next video with Vimeo →
Key light, fill light, and backlight explained
The three lights in a three-point lighting setup each have a specific job. The key light provides most of the light on your subject, the fill light softens shadows, and the backlight helps the subject stand out from the background.
You can include additional light sources when a shot calls for them. Adding a rim light creates more definition around the subject, while more background light lets you control how space appears behind them.
Key light
The key light is the main light source illuminating your subject. Its position significantly influences the exposure and mood of the shot, and it’s typically the first light source you'll place.
Rather than pointing the key light straight at the subject from the camera's position, move it off to one side. Lighting the subject from an angle leaves some shadow on the opposite side and gives their face or features more dimension.
Learn more lighting tips with Vimeo →
How to set up three-point lighting for photography and video
A standard three-point lighting setup positions three lights around your camera’s subject. You don't have to use the full setup for every shoot. Your available space, budget, or artistic style may call for fewer lights. When shooting outdoors, working with natural light can also change how many lights you need and where you place them.
The traditional three-point lighting setup is a useful starting point for any shoot because you can see the effects of adjustments with each light. Once your camera and subject are in position, begin with the key light before adding the fill light and backlight.
[Embed explainer video: three-point lighting setup]
Positioning your lights and finding the right angle
Place the key light in front of your subject and off to one side, roughly 45 degrees from the camera-subject line. Moving the key light away from the camera's axis creates shadows on the opposite side of the subject and adds dimension to the shot.
The fill light goes on the other side of the subject, where it can soften those shadows. Position the backlight behind and above the subject without letting the light fixture enter the frame.
Moving one light angle even a few degrees can impact where shadows fall, how much of the subject is illuminated, and how clearly they stand out from the background.
Begin with your lights in standard three-point lighting positions and make adjustments as necessary while watching the image through your camera. Your choice of camera shots and angles can also affect how the lighting appears within the frame.
Getting your light ratio right
The balance between your key and fill lights determines how much contrast appears on your subject. A common starting point is a 2:1 key-to-fill ratio, with the key providing more light than the fill.
Make adjustments based on the shot. Bringing up the fill light reduces contrast for a softer, more even look. Lowering it leaves more of the key light's shadows intact, which can create a more dramatic look.
You don't necessarily need another light source to provide fill. A reflector can bounce some of the key light or natural light back toward the shadowed side of the subject if you're working with limited equipment or space.
Adapting three-point lighting for photography, video, and film
Three-point lighting photography setups follow the same basic arrangement as video and film, but the equipment and lighting choices can change.
For product hero shots and portrait photography, you can use strobes or flashes as your key light, fill light, and backlight because the lights only need to fire when capturing the image. Continuous lights let you see the lighting effect before taking the shot.
Video requires lighting that stays on while the camera records, so use continuous LED lights when filming an interview or product video. You can see the effect of each adjustment in real time and make changes between takes.
While three-point lighting in film is a common concept, professional cinematographers often use more elaborate lighting arrangements to suit the needs of a particular scene. The traditional setup is a starting point, but larger productions may build on that foundation with additional lighting sources and complex arrangements to create depth or make lighting feel more natural.
Light it right, then bring your video to life with Vimeo
With an understanding of how the key light, fill light, and backlight work together, you can adjust a three-point lighting setup to suit any shot or subject. Begin with light sources in standard positions, then move or adjust each light to address shadows and contrast.
After the shoot, Vimeo lets you turn that footage into a finished video and share it with your audience. You can use Vimeo's video editor to make quick edits in your browser, then host the finished video in HD without ads interrupting the viewing experience.
Start editing with Vimeo →
FAQ
What’s four-point lighting?
Four-point lighting adds a fourth light to the standard key light, fill light, and backlight setup. The additional light is typically a background light for illuminating the space behind the subject, creating more separation or depth.
Can you get a three-point lighting look with only one or two lights?
Yes, you can use natural light and a reflector to fill shadows or create separation without using three lights. The result may not offer the same level of control as three-point lighting, but you can still create a similar look.
What equipment do you need for three-point lighting?
You'll need three lights, three light stands, and a camera. Softboxes, diffusers, reflectors, and other modifiers can give you more control over the intensity and quality of each light, but you don't need a robust collection of video equipment for basic three-point lighting.
How far apart should I position the key light, fill light, and backlight?
There's no universally set distance between the three lights. Their placement depends on your subject, the available space, and the look you want, so begin from standard positions and adjust each light while checking the image on camera.