Managing media assets is a routine task in software development, especially for teams building cloud-based platforms, e-commerce sites, or content management systems. If you’ve ever spent an afternoon uploading product images, tagging each one by hand, resizing them for three different channels, and then doing it all over again the next week, this guide is for you.
AI tools like Claude and ChatGPT can help, but prompting them one file at a time doesn’t scale. Cloudinary MCP servers solve this by providing AI agents with direct access to Cloudinary’s media API via the Model Context Protocol (MCP). Instead of you acting as the middleman, the AI agent can act autonomously, calling the right API endpoints, making decisions based on image content, and completing complex workflows with minimal human intervention.
This guide walks through six real automated media workflows using AI agents and Cloudinary MCP. Each example includes the exact prompt, the MCP tool calls that the AI agent makes behind the scenes, and the result in your Cloudinary dashboard. You’ll learn to:
- Upload and auto-tag images in a single prompt.
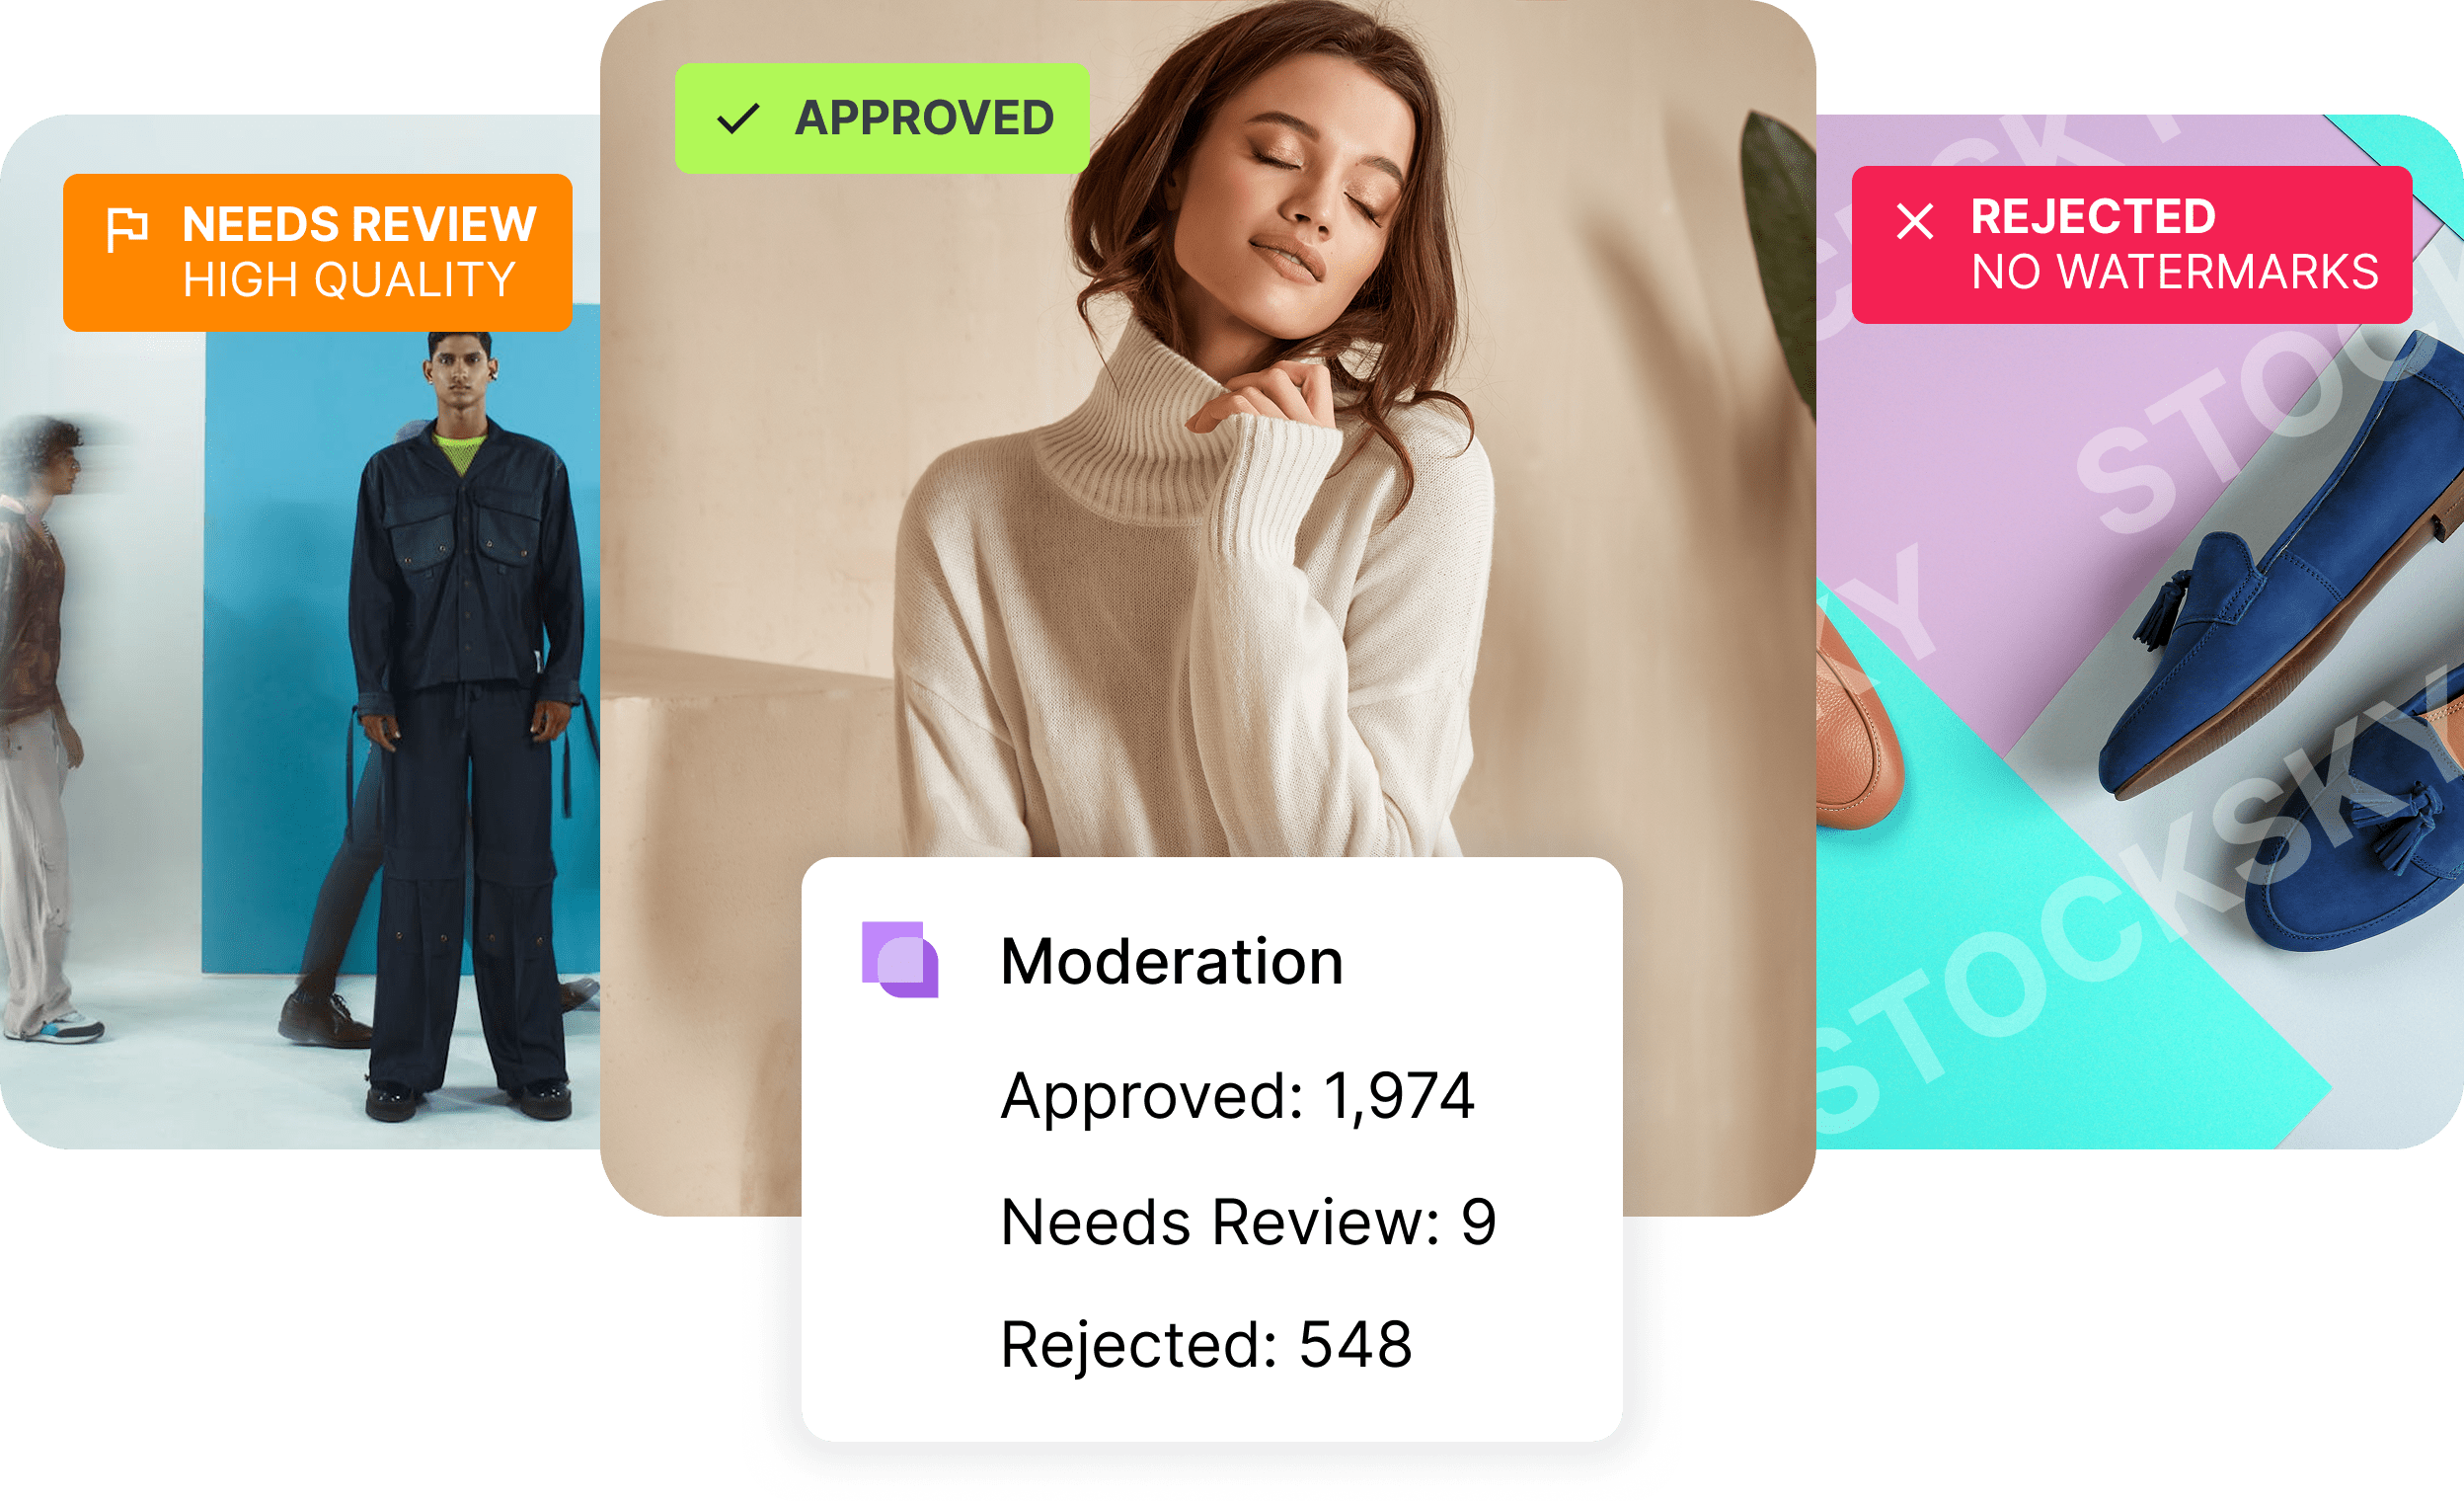
- Run content moderation and safety checks on uploaded assets.
- Generate image variants for Instagram, mobile, and email.
- Detect and clean up duplicate assets using visual similarity analysis.
- Automate image quality checks against custom QA rules.
- Generate and apply structured metadata with AI.
Each workflow is something you can copy and run in your own Cloudinary media library. The time savings are significant, especially for teams handling large volumes of media assets across multiple data sources and content workflows.
Before running any of these workflows, you’ll need:
- A Cloudinary account (the free tier works for all examples).
- A Claude Pro subscription (required for MCP features in the Claude Desktop app).
- Node.js installed on your machine (required for local MCP servers).
- The Claude Desktop app installed and configured.
You’ll also need the following MCP servers connected to Claude. If you haven’t set these up yet, follow the Cloudinary MCP documentation or the GitHub setup guide:
These servers are available as remote servers (hosted by Cloudinary, no installation needed) or local servers (running on your machine via npm). Remote servers are the recommended option for most setups. See the configuration examples for both approaches.
Several of these workflows rely on Cloudinary AI-powered add-ons. These add-ons use AI models trained for object detection, image classification, and content analysis.
Note:
If you skip this step, the auto-tagging, content moderation, and image analysis workflows will fail.
In your Cloudinary dashboard:
- Click the Add-on Marketplace icon in the sidebar.
- Select All Add-ons.
- Enable the following (all available on the Free plan): Auto Tagging by Google (used in Example 1). Cloudinary AI Vision (used in Examples 2, 4, 5, 6). Amazon Rekognition AI Moderation (used in Example 2).
- Auto Tagging by Google (used in Example 1).
- Cloudinary AI Vision (used in Examples 2, 4, 5, 6).
- Amazon Rekognition AI Moderation (used in Example 2).
Create a local folder with some test images. For this guide, the folder used is called cloudinary-mcp-testing, organized into subfolders: products, moderation, samples, and metadata. Each subfolder contains the images used in the corresponding workflow.
With the Filesystem MCP server connected, you can ask Claude to confirm it can see the folder:
With everything configured, let’s walk through the workflows.
One of the first routine tasks developers automate in asset management is uploading files and applying consistent tags. Manually tagging product images is tedious, and inconsistent tagging makes advanced search and filtering unreliable across your media library. With Cloudinary MCP, an AI agent can upload a file, analyze it, and auto-tag it through a single natural language instruction.
The prompt:
What happens:
Claude reads the prompt and determines which MCP tools to use. First, it calls the Filesystem MCP server to locate the file. Then it calls the Asset Management MCP server to upload the image to the products/shoes folder. You’ll see a confirmation dialog (click Allow once) before each tool call executes.
The image appears on the Console after a successful upload run.
After a successful upload, the AI agent notices the tags array is empty. Auto-tagging doesn’t always apply during the upload step itself, so the agent follows up by calling the Cloudinary Analysis MCP server to run Google Auto Tagging on the uploaded asset. This AI system analyzes the image’s visual content and returns relevant tags with confidence scores.
Auto-tagging doesn’t always apply during the upload step itself, so Claude follows up by calling the Analysis MCP server to run Google Auto Tagging on the asset.
It sends the request, processes the results, and updates the asset with the new tags.
The result:
The image appears in your Cloudinary Media Library at the correct folder path, with auto-generated tags applied:
This automated workflow replaces three manual steps (upload, analyze, tag) with a single prompt. For teams managing product catalogues with hundreds of SKUs, using AI for asset management like this delivers significant value in time savings alone.
Content moderation becomes a complex task when you’re working with a large media library. Many teams still rely on manual review or one-off scripts to identify unsafe or inappropriate content. With Cloudinary MCP, an AI agent can analyse uploaded assets immediately and return a structured moderation report, automating one of the most repetitive tasks in digital asset management.
The prompt:
What happens:
Claude uploads both images.
The agent then calls the Cloudinary Analysis MCP server to run AI Vision moderation on each image. These AI technologies check for explicit content, violence, nudity, weapons, hate symbols, and other safety categories, using trained AI models to make decisions with minimal human intervention.
The result:
Claude generates a structured safety report for each image. The first image (a portrait of a person) is marked SAFE with no concerns detected:
The second image (depicting a conflict scenario) is correctly flagged as Unsafe for Work due to emotional distress content:
Each moderation report also includes an AI Vision description of the image content, face detection results, and OCR text analysis. You can use these AI-generated reports to build automated approval gates into your content workflows, flagging assets that need human review before they go live. For teams processing user-generated content or managing assets across multiple data sources, this kind of automated decision making removes a major bottleneck.
Preparing media assets for different channels usually means generating multiple versions of the same image with different dimensions, crops, and compression levels. Instead of writing custom image transformations or manually managing upload presets, an AI agent can generate each optimised variant on demand using Cloudinary MCP. This is one of the most practical AI applications for teams that deliver media across web, mobile, email, and social platforms.
For this workflow, we’ll use the public_id of the shoes image uploaded in Example 1 and ask the AI agent to create three platform-specific variants.
The prompt:
What happens:
The AI agent starts by retrieving the Cloudinary transformation reference to confirm the correct syntax for image optimization. Then it makes three sequential API calls through the Cloudinary Asset Management MCP server’s Transform-asset tool, one for each variant.
The result:
All three variants are generated automatically, each with its own delivery URL. Here are the results:
Variant 1: Instagram Feed (1080 x 1080)
- Transformation: c_fill,g_auto,h_1080,w_1080
- Final size: 50,172 bytes (53.6% reduction)
Variant 2: Mobile Web Lightweight (800pxwide)
- Transformation: c_scale,q_50,w_800
- Final size: 25,096 bytes (76.8% reduction)
Variant 3: Email Newsletter Hero (600pxwide)
- Transformation: c_scale,f_auto,q_auto,w_600
- Final size: ~25,000 bytes (estimated 54% reduction)
The bandwidth savings range from 54% to 77% depending on the image transformation applied. All three derived assets are immediately available through their delivery URLs, producing different outcomes optimized for each channel. No manual image resizing, no duplicate files cluttering your media library.
Large media libraries accumulate similar-looking assets over time. Product images get uploaded twice with slightly different filenames. Marketing teams save variations that are nearly identical. Manually checking for duplicate images is a slow, complex task, especially when the visual differences are subtle. With Cloudinary MCP, an AI agent can analyze visual characteristics and determine whether two assets are true duplicates or distinct products.
For this workflow, we’ll compare two similar-looking electronics images:
- electronics-1.jpg
- electronics-duplicate.jpg
The prompt:
What happens:
Claude uploads both images:
Then retrieves their asset details:
It runs several analysis passes: perceptual hashing, visual search, AI Vision general analysis, and a metadata comparison covering dimensions, file sizes, and camera details.
The result:
Even though the filename suggests electronics-duplicate.jpg might be a copy, Claude correctly identifies that the two images show different product configurations. The similarity score comes back at 15-20% (low), because while both feature a Canon EOS 5D Mark IV camera body, one shows a zoom lens and the other shows a prime lens.
Claude’s verdict: NOT DUPLICATES. Keep both. The reasoning includes a detailed comparison table showing the camera body is identical, but the lenses are different products with different use cases.
This workflow is particularly useful for teams managing product catalogues, photo shoots, or large volumes of visually similar media where filenames alone can’t tell you whether assets are truly redundant.
For organizations managing thousands of media assets, duplicate detection delivers significant value by reducing storage costs, improving search accuracy, and helping asset managers maintain cleaner libraries.
Quality assurance is another area where software development teams spend hours manually checking image resolution, compression artifacts, file formats, and overall media usability. Without automated enforcement, your media library fills up with assets that are too small, poorly compressed, or in the wrong format. With Cloudinary MCP, an AI agent can automate repetitive tasks like QA checks against your custom rules and flag anything that doesn’t meet the standard.
For this workflow, the AI agent analyzes every image in the samples folder against specific quality requirements.
The prompt:
What happens:
The AI agent lists the files, uploads each one to Cloudinary, then pulls detailed asset information. It uses a combination of Cloudinary AI Vision tools including image quality analysis, general vision detection, watermark detection, object detection, and content classification. You can also configure webhook notifications to alert your team when an asset fails QA.
Claude then pulls detailed asset information. It uses a combination of Cloudinary AI Vision tools including image quality analysis, general vision detection, watermark detection, and content analysis.
The result:
Claude compiles a QA report for each image with pass/fail results per rule.
Image 1: Mountain landscape (passed all checks)
Claude’s recommendation: KEEP. High-quality landscape image, suitable for web, marketing, or print.
Image 2: High-resolution photo (passed with optimization note)
All technical checks passed, but Claude flagged the 1.47 MB file size as worth optimizing for web delivery. It recommended applying f_auto/q_auto transformations to reduce file size by 30-50% without visible quality loss.
Claude’s recommendation: OPTIMIZE. Generate optimized versions with c_scale,w_2000/f_auto/q_auto.
Image 3: Small cityscape (failed resolution check)
Claude’s recommendation: REJECT or LIMITED USE. The image falls below the minimum resolution requirement. It may work for thumbnails, email inserts, or social media profile images, but not for hero images or large displays.
This automated media QA workflow replaces manual inspection with a repeatable, AI-driven evaluation. You define the quality rules once in the prompt, and the AI agent applies them consistently across every asset in your library. You can also extend this with conditional metadata rules that automatically tag assets as “approved” or “needs review” based on the QA results.
Structured metadata helps teams categorise, search, and manage media assets more reliably, especially in environments with large product catalogues. Without proper metadata fields, finding the right asset means scrolling through hundreds of thumbnails or searching by filename. With Cloudinary MCP, an AI agent can extract metadata from image content and apply it to each asset automatically, turning your media library into a searchable, well-organised digital asset management system with no manual data entry.
This workflow uses the Cloudinary SMD (Structured Metadata) MCP server alongside the Cloudinary Analysis server. The AI agent processes all files in the metadata folder.
The prompt:
What happens:
Claude uploads the images:
Then it opens each image through the Filesystem MCP server to visually analyze the content before generating metadata. Before applying anything, the agent checks that the structured metadata fields already exist in your Cloudinary account (or creates them if they don’t). Once the fields are verified, the AI agent analyzes each asset and applies the detected metadata values. The entire process happens through natural language prompts and MCP server API calls, with no manual data entry required.
The result:
The AI agent creates the following structured metadata fields in your Cloudinary account:
- product_name (String): Free-text field for product naming.
- product_category (Enum/Dropdown): Options include Bags, Clothing, Shoes, Accessories, Electronics.
- product_color (String): Free-text field for colour description.
- product_material (String): Free-text field for material composition.
For each uploaded media asset, the agent populates these fields based on its visual analysis. For example, a black tote bag image gets tagged with product_name: Black Canvas Tote Bag, product_category: Bags, product_color: Black, and product_material: Canvas.
You can verify the applied metadata in your Cloudinary Media Library by clicking on any asset and checking the Metadata panel. Once structured metadata fields are populated, your entire media library becomes searchable by product type, colour, material, or any other field you’ve defined. This enables advanced search and filtering that isn’t possible with tags alone.
These six workflows cover the media management tasks that consume the most developer time, including uploading, auto-tagging, content moderation, multi-channel image delivery, duplicate detection, quality assurance, and structured metadata generation. Each one works as a standalone automation, but the real value of AI for asset management comes when you combine them into complex workflows.
Try chaining workflows together in a single prompt: “Upload all images in this folder, run QA checks, reject anything below 1200px, auto-tag the rest, apply structured metadata, and generate Instagram and mobile variants for every asset that passes.” That turns an afternoon of manual media management into a two-minute conversation with your AI agent.
To get started with Cloudinary MCP:
- Set up your Cloudinary account and API key credentials.
- Connect the Cloudinary MCP servers to your preferred AI agent (Claude, ChatGPT, or any MCP-compatible large language model).
- Pick one of the prompts from this guide and run it on a small batch of test images.
- See the results in your Cloudinary dashboard, then scale up.
Once configured, AI agents can help you enhance efficiency and manage your media assets with consistent quality across all your content workflows. Because the Model Context Protocol is API-first, Cloudinary MCP plugs naturally into existing software development workflows and adapts to the content approval, metadata, and delivery requirements of modern media pipelines. These new tools give developers direct access to AI-powered asset management without building custom integrations from scratch.
Resources:
- Cloudinary MCP documentation
- Cloudinary MCP servers on GitHub
- Model Context Protocol overview
- Cloudinary add-ons marketplace
- Cloudinary documentation
It depends on the task, but most workflows combine the Filesystem server (for local file access), Asset Management (for uploading, transforming, and organizing), and Analysis (for AI-powered tagging and moderation). Structured metadata workflows also need the Structured Metadata server. The Cloudinary MCP documentation lists all available servers and what each one covers.
Yes. Auto-tagging, content moderation, and image analysis workflows depend on add-ons like Auto Tagging by Google, Cloudinary AI Vision, or Amazon Rekognition AI Moderation, all enabled from the Add-on Marketplace in your Cloudinary dashboard. Without these enabled, AI agent calls to analyze or moderate content will fail. See the Cloudinary add-ons documentation for the full list and registration steps.
An AI agent uploads or references an asset, then calls Cloudinary’s moderation and analysis tools to check for explicit content, violence, weapons, hate symbols, and other safety categories, returning a structured pass/fail report. Teams often use this to build automated approval gates before content goes live. The Amazon Rekognition AI Moderation add-on documentation covers one of the moderation options referenced in this workflow.
Structured metadata is a set of custom-defined fields (like product name, category, color, or material) attached to an asset, making a media library searchable beyond basic tags. An AI agent can analyze an image, extract likely metadata values, and apply them directly through the Structured Metadata MCP server, with no manual data entry.